Step up your coding game with AI-powered Code Explainer. Get insights like never before!
A chat room is an interface that allows two or more people to chat and send messages to everyone in the room. In this tutorial, you will learn how to build a simple chat room server and allow multiple clients to connect to it using sockets in Python.
We are going to use socket module, which comes built-in with Python and provides us with socket operations that are widely used on the Internet, as they are behind any connection to any network.
To get started, and for changing text color, we gonna need colorama package to assign a printing color to each client in the chatroom:
pip3 install coloramaSince we're using sockets, then we need a server and client code; let's start with the server side.
Server Code
In our architecture, the whole job of the server is to do two essential operations:
- Listening for upcoming client connections, if a new client is connected, we add it to our collection of client sockets.
- Start a new thread for each connected client that keeps listening to upcoming messages sent from the client and broadcasts them to all other clients.
The below code creates a TCP socket, binds it to the server address, and then listens for upcoming connections:
import socket
from threading import Thread

# server's IP address
SERVER_HOST = "0.0.0.0"
SERVER_PORT = 5002 # port we want to use
separator_token = "<SEP>" # we will use this to separate the client name & message

# initialize list/set of all connected client's sockets
client_sockets = set()
# create a TCP socket
s = socket.socket()
# make the port as reusable port
s.setsockopt(socket.SOL_SOCKET, socket.SO_REUSEADDR, 1)
# bind the socket to the address we specified
s.bind((SERVER_HOST, SERVER_PORT))
# listen for upcoming connections
s.listen(5)
print(f"[*] Listening as {SERVER_HOST}:{SERVER_PORT}")
Notice I've used "0.0.0.0" as the server IP address, this means all IPv4 addresses on the local machine. You may wonder why we don't just use localhost or "127.0.0.1" ? Well, if the server has two IP addresses, let's say "192.168.1.2" on one network and "10.0.0.1" on another, then the server listens on both networks.
We're not yet accepting connections, as we didn't call accept() method, the below code finishes the server code recipe:
def listen_for_client(cs):
    """
    This function keep listening for a message from `cs` socket
    Whenever a message is received, broadcast it to all other connected clients
    """
    while True:
        try:
            # keep listening for a message from `cs` socket
            msg = cs.recv(1024).decode()
        except Exception as e:
            # client no longer connected
            # remove it from the set
            print(f"[!] Error: {e}")
            client_sockets.remove(cs)
        else:
            # if we received a message, replace the <SEP>
            # token with ": " for nice printing
            msg = msg.replace(separator_token, ": ")
        # iterate over all connected sockets
        for client_socket in client_sockets:
            # and send the message
            client_socket.send(msg.encode())

while True:
    # we keep listening for new connections all the time
    client_socket, client_address = s.accept()
    print(f"[+] {client_address} connected.")
    # add the new connected client to connected sockets
    client_sockets.add(client_socket)
    # start a new thread that listens for each client's messages
    t = Thread(target=listen_for_client, args=(client_socket,))
    # make the thread daemon so it ends whenever the main thread ends
    t.daemon = True
    # start the thread
    t.start()
As mentioned previously, we add the connected client socket to the collection of our sockets, and then we start a new thread, and we set it as a daemon thread (check this tutorial for more information about daemon threads) that executes our defined listen_for_client() function, which, given a client socket, it waits for a message to be sent using recv() method, if so, then it is sent to all other connected clients.
Finally, let's close all sockets:
# close client sockets
for cs in client_sockets:
    cs.close()
# close server socket
s.close()
Alright, that's it for the server code. Let's dive into the client code.
Client Code
The client does three basic operations:
- Connects to the server.
- Keep listening for messages coming from the server (must be a client sent a message to the server and the server broadcasted it) and print it to the console.
- Waiting for the user to input messages to send to the server.
Here's the code for the first operation:
import socket
import random
from threading import Thread
from datetime import datetime
from colorama import Fore, init, Back

# init colors
init()

# set the available colors
colors = [Fore.BLUE, Fore.CYAN, Fore.GREEN, Fore.LIGHTBLACK_EX,
    Fore.LIGHTBLUE_EX, Fore.LIGHTCYAN_EX, Fore.LIGHTGREEN_EX,
    Fore.LIGHTMAGENTA_EX, Fore.LIGHTRED_EX, Fore.LIGHTWHITE_EX,
    Fore.LIGHTYELLOW_EX, Fore.MAGENTA, Fore.RED, Fore.WHITE, Fore.YELLOW
]

# choose a random color for the client
client_color = random.choice(colors)

# server's IP address
# if the server is not on this machine,
# put the private (network) IP address (e.g 192.168.1.2)
SERVER_HOST = "127.0.0.1"
SERVER_PORT = 5002 # server's port
separator_token = "<SEP>" # we will use this to separate the client name & message

# initialize TCP socket
s = socket.socket()
print(f"[*] Connecting to {SERVER_HOST}:{SERVER_PORT}...")
# connect to the server
s.connect((SERVER_HOST, SERVER_PORT))
print("[+] Connected.")
As a side operation, we also set a color for each client, which you'll see in the output. Also, let's set a name for each client so we can distinguish between clients:
# prompt the client for a name
name = input("Enter your name: ")
The below code is responsible for the second operation; keep listening for messages from the server and print them to the console:
def listen_for_messages():
    while True:
        message = s.recv(1024).decode()
        print("\n" + message)

# make a thread that listens for messages to this client & print them
t = Thread(target=listen_for_messages)
# make the thread daemon so it ends whenever the main thread ends
t.daemon = True
# start the thread
t.start()
We also want it to be in a separate thread, like a daemon thread, so we can do other things while listening to messages.
Now let's do the final task: waiting for user input for messages and then sending them to the server:
while True:
    # input message we want to send to the server
    to_send =  input()
    # a way to exit the program
    if to_send.lower() == 'q':
        break
    # add the datetime, name & the color of the sender
    date_now = datetime.now().strftime('%Y-%m-%d %H:%M:%S')
    to_send = f"{client_color}[{date_now}] {name}{separator_token}{to_send}{Fore.RESET}"
    # finally, send the message
    s.send(to_send.encode())

# close the socket
s.close()
We add the client color, name, and the current date-time to the message to be sent; we send the message using send() method, and we make a way to exit out of the program by just inputting 'q' character in the place of the message.
Demonstration
Alright, now that we finished both code recipes, let's make a demonstration. First, let's run one and only one server instance:
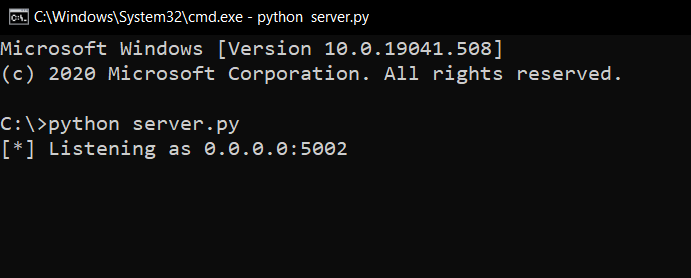
Awesome, the server is listening for upcoming client connections. Let's try to run one client instance:
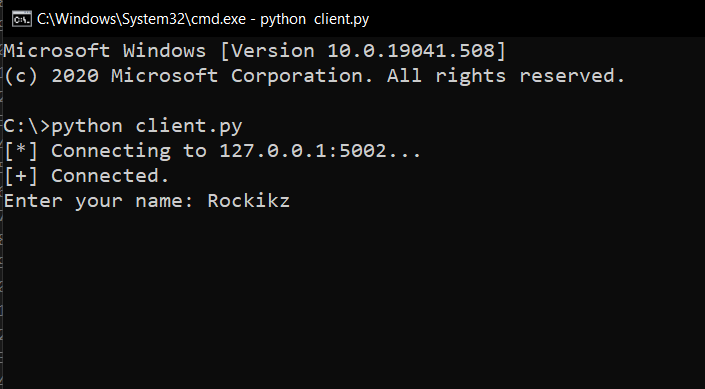 Now, the client is connected to the server and prompted for a username. To make sure it's connected, get back to the server console, and you'll see that it's connected:
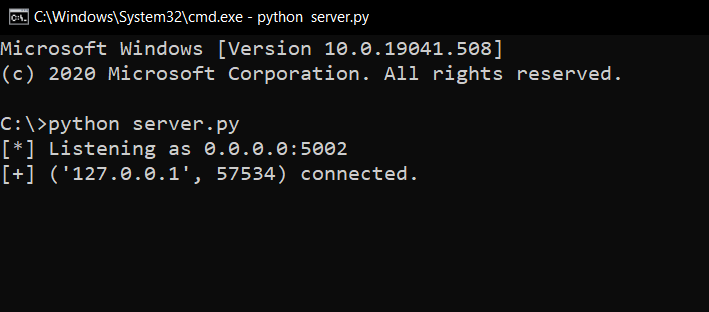 Note we're on the
 localhost (127.0.0.1) address for now, as it's the same machine, but if you want to connect from other machines in the same network, you can do that as well; just make sure to change SERVER_HOST in client code from 127.0.0.1 to the server's private IP address.
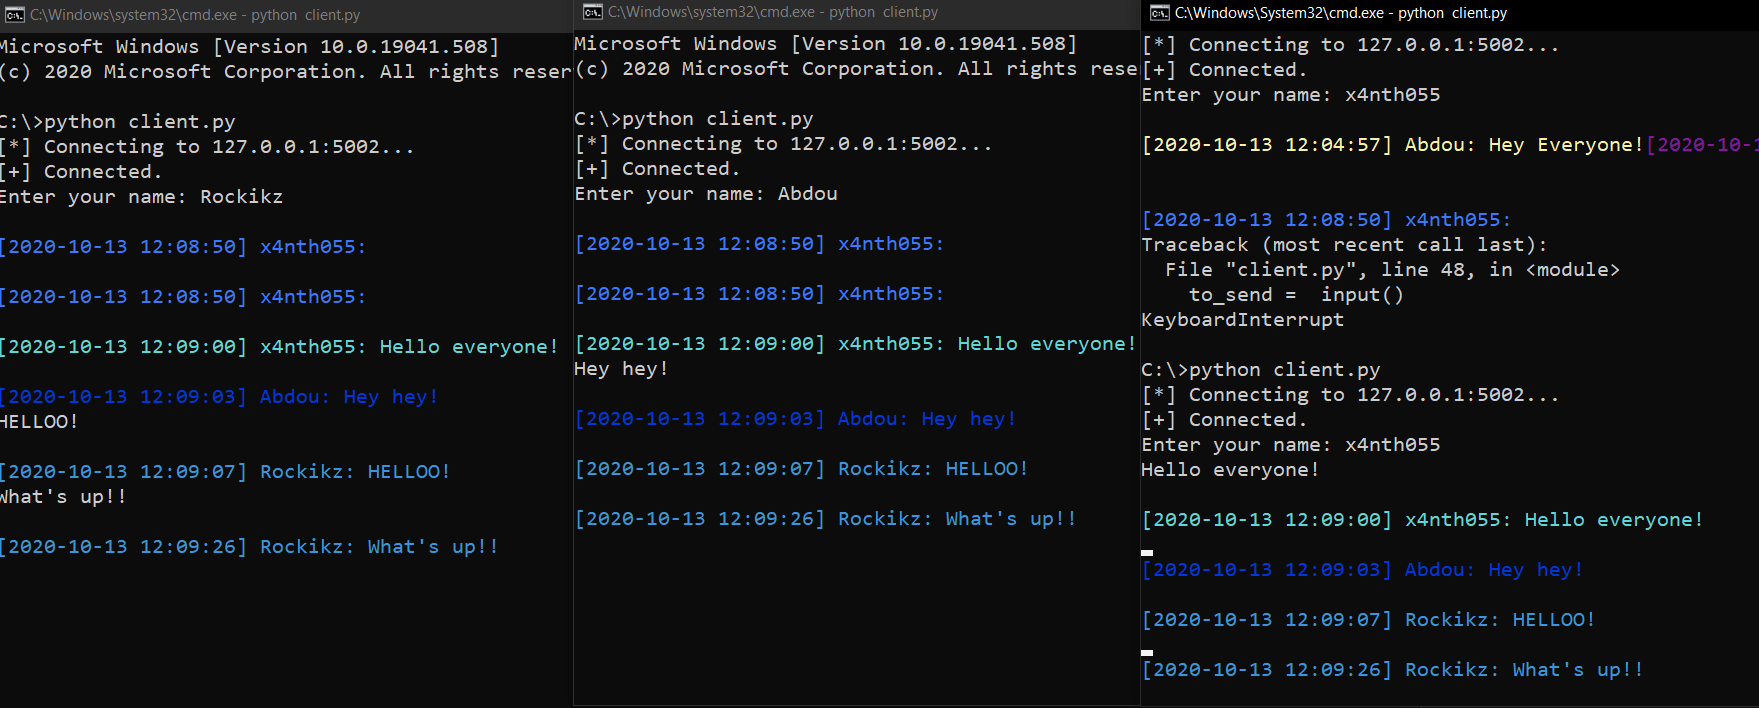
Let's run another client so we can chat:

Awesome, as you can see, each client has a color so we can distinguish between users; let's run a third client for fun:
Conclusion
Great, now every message sent from a particular client is sent to all other clients. Note the colors are changed whenever you re-execute the client.py script.
Note that If you wish to run the server code on a remote machine on the Internet and not on the local network, then make sure you allow the port on your firewall. If it's a VM in the cloud, then make sure you allow it via ufw:
$ ufw allow 5002This will tell the firewall to allow that port for remote communication. If the server is in your home, you must enable the port on your router settings, which you can typically access using the web browser via the router's IP address, typically 192.168.1.1. You can check the default gateway IP (router's IP) using the ipconfig command on Windows, or ip route | grep default on Linux and macOS.
Please check the full code so you can easily run them yourself!
I encourage you to add more features to this program. For example, you can make a notice to all users when a new client is connected!
For more Python sockets tutorials, check these:
- How to Transfer Files in the Network using Sockets in Python.
- How to Create a Reverse Shell in Python.
- How to Build Spyware in Python.
Learn also: Logging in Python.
Happy Coding ♥
Loved the article? You'll love our Code Converter even more! It's your secret weapon for effortless coding. Give it a whirl!
View Full Code Analyze My Code


Got a coding query or need some guidance before you comment? Check out this Python Code Assistant for expert advice and handy tips. It's like having a coding tutor right in your fingertips!