Ready to take Python coding to a new level? Explore our Python Code Generator. The perfect tool to get your code up and running in no time. Start now!
In many cases, you want to upload a video or an image publicly on the Internet, and you may want to anonymize random people shown in that video or image. In this tutorial, you will learn how to blur faces in images and videos using the OpenCV library in Python.
To blur faces shown in images, you need to first detect these faces and their position in the image. Luckily for us, I already wrote a tutorial on face detection, we'll only be using its source code, feel free to check it out for further detail on how the face detection code works.
Related: Mastering YOLO: Build an Automatic Number Plate Recognition System with OpenCV in Python.
To get started, install the required dependencies:
pip3 install opencv-python numpyOpen up a new file and import:
import cv2
import numpy as np
As explained in the face detection tutorial, since we need to initialize our deep learning model to detect faces, we need to get the model architecture along with its pre-trained weights, download them, and put them in the weights folder:
# https://raw.githubusercontent.com/opencv/opencv/master/samples/dnn/face_detector/deploy.prototxt
prototxt_path = "weights/deploy.prototxt.txt"
# https://raw.githubusercontent.com/opencv/opencv_3rdparty/dnn_samples_face_detector_20180205_fp16/res10_300x300_ssd_iter_140000_fp16.caffemodel
model_path = "weights/res10_300x300_ssd_iter_140000_fp16.caffemodel"
# load Caffe model
model = cv2.dnn.readNetFromCaffe(prototxt_path, model_path)
The below code reads this image, prepares it, and pass it to the neural network:
# read the desired image
image = cv2.imread("father-and-daughter.jpg")
# get width and height of the image
h, w = image.shape[:2]
# gaussian blur kernel size depends on width and height of original image
kernel_width = (w // 7) | 1
kernel_height = (h // 7) | 1
# preprocess the image: resize and performs mean subtraction
blob = cv2.dnn.blobFromImage(image, 1.0, (300, 300), (104.0, 177.0, 123.0))
# set the image into the input of the neural network
model.setInput(blob)
# perform inference and get the result
output = np.squeeze(model.forward())
Now, the output object is a NumPy array that has all faces detected, let's iterate over this array and only blur portions where we're confident that it's a face:
for i in range(0, output.shape[0]):
    confidence = output[i, 2]
    # get the confidence
    # if confidence is above 40%, then blur the bounding box (face)
    if confidence > 0.4:
        # get the surrounding box cordinates and upscale them to original image
        box = output[i, 3:7] * np.array([w, h, w, h])
        # convert to integers
        start_x, start_y, end_x, end_y = box.astype(np.int)
        # get the face image
        face = image[start_y: end_y, start_x: end_x]
        # apply gaussian blur to this face
        face = cv2.GaussianBlur(face, (kernel_width, kernel_height), 0)
        # put the blurred face into the original image
        image[start_y: end_y, start_x: end_x] = face
Mastering YOLO: Build an Automatic Number Plate Recognition System
Building a real-time automatic number plate recognition system using YOLO and OpenCV library in Python
Download EBookUnlike in the face detection tutorial where we drew bounding boxes for each face detected. Instead, here we get the box coordinates and apply gaussian blur to it.
cv2.GaussianBlur() method blurs an image using a Gaussian filter, applying median value to central pixel within a kernel size. It accepts the input image as the first argument, the Gaussian kernel size as a tuple in the second argument, and the sigma parameter as the third.
We computed the Gaussian kernel size from the original image, in the documentation, it says it must be an odd and positive integer, I've divided the original image by 7 so it depends on the image shape and performed bitwise OR to make sure the resulting value is an odd number, you can, of course, set your own kernel size, the higher it is, the blurrier the image is.
After we blur each face, we set it back to the original image, this way, we'll get an image in which all faces are blurred, here is the result:

Great! The nice thing about this is you can blur faces live using your camera, as well as reading outside videos of your choice, check the full code page for all that.
I've grabbed a YouTube video and blurred all faces, check this out:
If you want to know how face detection works, check this tutorial for an explanation.
You can get all the resources for this tutorial on this GitHub page.
Learn also: How to Perform YOLO Object Detection using OpenCV and PyTorch in Python.
Happy Coding ♥
Ready for more? Dive deeper into coding with our AI-powered Code Explainer. Don't miss it!
View Full Code Explain My Code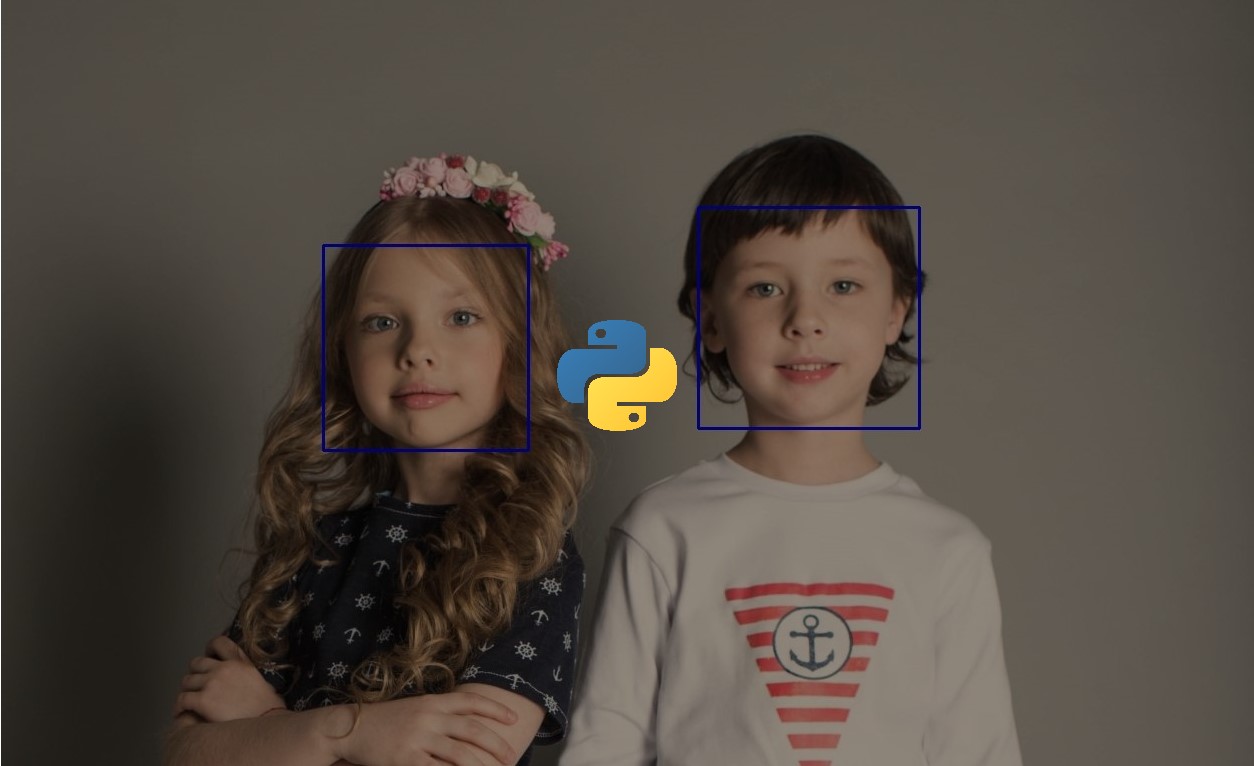


Got a coding query or need some guidance before you comment? Check out this Python Code Assistant for expert advice and handy tips. It's like having a coding tutor right in your fingertips!