Kickstart your coding journey with our Python Code Assistant. An AI-powered assistant that's always ready to help. Don't miss out!
In this tutorial, we will create an internal news app consisting of journalists writing articles. Creating an internal news site with an API allows organizations to share news content and internal communication more effectively, improving collaboration and knowledge sharing among employees.
What is an API
An API stands for Application Programming Interface. It is a software that allows two applications to talk to each other. Think of how when you initiate a withdrawal in PayPal for example, PayPal API will send your data to the bank for verification first. If the data is correct, then it initiates your withdrawal.
Getting started
We will create a new directory. In the terminal:
$ mkdir news_app
$ cd news_app
We have created a new directory to store our app. We will call it news_app. We have then changed the directory to news_app.
Let's make and activate our virtual environment:
$ python -m venv venv# on Linux/macOS
$ source venv/bin/activate
# on Windows
$ \venv\Scripts\activateNow that we have a virtual environment, we can install Django by using the pip installer:
$ pip install djangoWe will then create a Django project.
Starting a Django Project
A Django project is a Python package that represents the entire web application. A Django project essentially contains the configuration and settings for the entire website. A single project may also contain multiple apps that can be used to implement functionality.
We will use the django-admin executable that comes with Django to start a Django project.
We have called our project news_project:
$ django-admin startproject news_project
The project structure is as follows:
.
├── manage.py
└── news_project
   ├── asgi.py
   ├── __init__.py
   ├── settings.py
   ├── urls.py
   └── wsgi.py
A Django project can contain several Django apps. An app is a small library representing a larger project subset. We will create a new app, news_app:
$ python manage.py startapp news_appThe app structure is:
├── db.sqlite3
├── manage.py
├── news_project
└── news_app
   ├── admin.py
   ├── apps.py
   ├── __init__.py
   ├── migrations
   │   └── __init__.py
   ├── models.py
   ├── tests.py
   └── views.py
Running Migrations
Migrations are Django's way of propagating model changes (adding a field, deleting a model, etc.) into your database schema. First, navigate to the project's directory. Make sure it contains a manage.py file.
The makemigrations command examines all of your available models and generates migrations for any tables that do not yet exist. The migrate command runs all unapplied migrations against your database, essentially synchronizing the changes you made to your models with the database schema. To run migrations:
$ cd news_project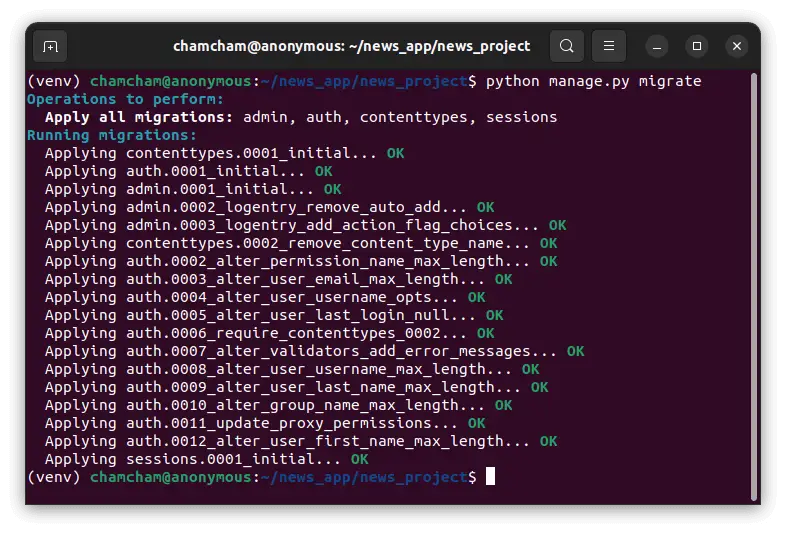
$ python manage.py makemigrations
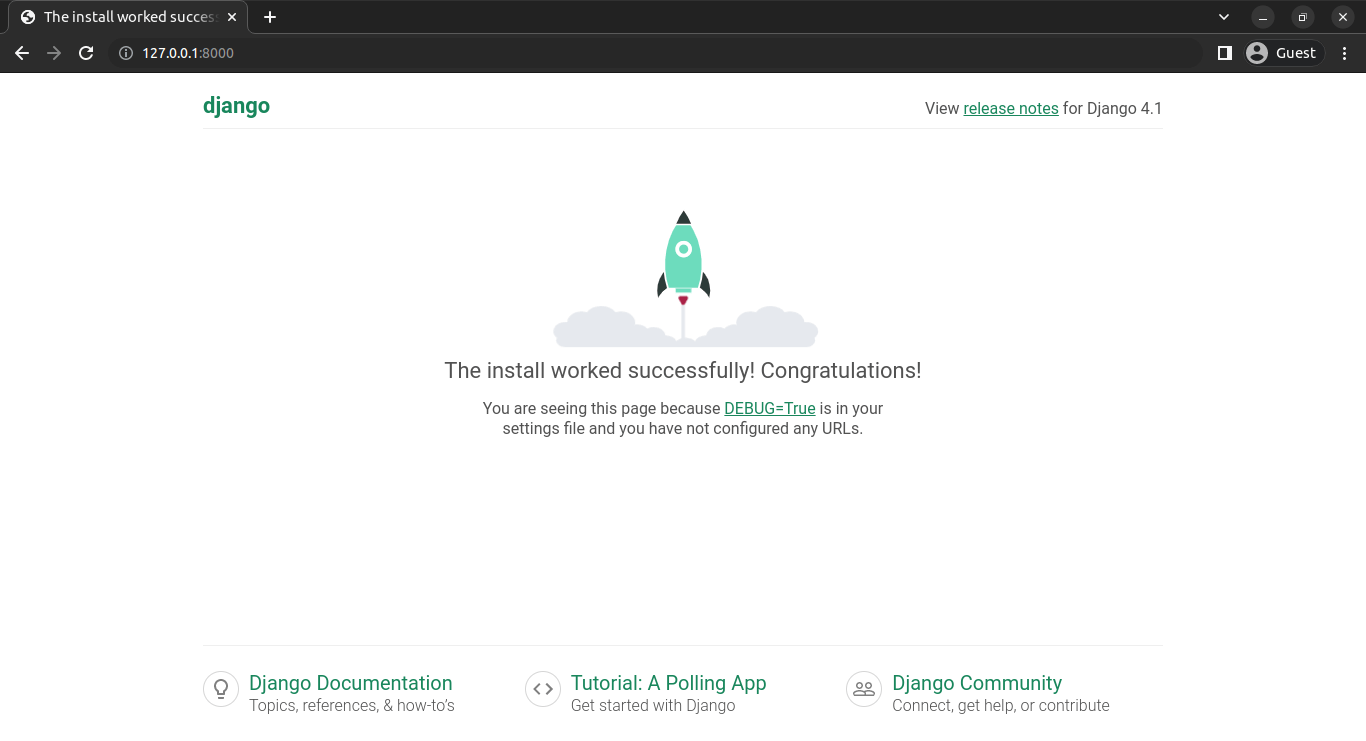
$ python manage.py migrateWe will then run the server:
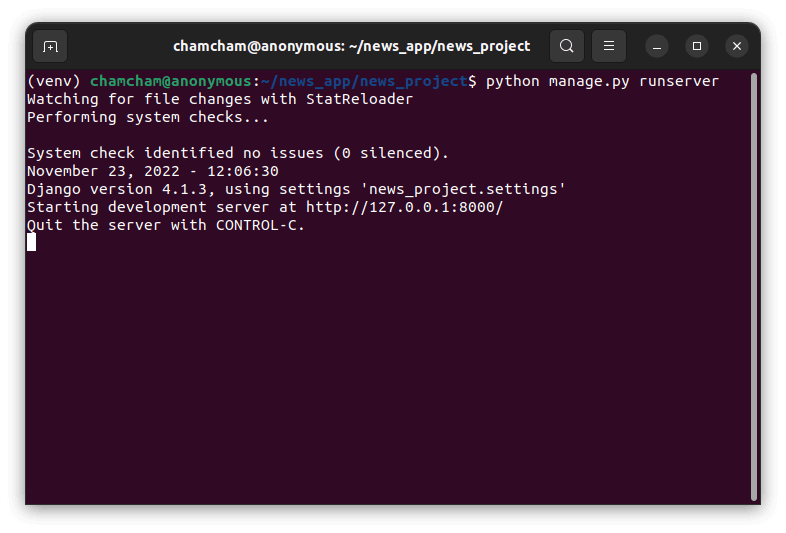
The server is live:
Configuring the App
We will then include our app in the INSTALLED_APPS list in settings.py:
INSTALLED_APPS = [
   'django.contrib.admin',
   'django.contrib.auth',
   'django.contrib.contenttypes',
   'django.contrib.sessions',
   'django.contrib.messages',
   'django.contrib.staticfiles',
   'news_app' #new app
   ]
We will then create models in models.py:
from django.db import models


class Journalist(models.Model):
   first_name = models.CharField(max_length=60)
   last_name = models.CharField(max_length=60)

   def __str__(self):
       return f"{ self.first_name } - { self.last_name }"

class Article(models.Model):
   author = models.ForeignKey(Journalist,
                           on_delete=models.CASCADE,
                           related_name='articles')
   title = models.CharField(max_length=120)
   description = models.CharField(max_length=200)
   body = models.TextField()
   location = models.CharField(max_length=120)
   publication_date = models.DateField()

   def __str__(self):
       return f"{ self.author } - { self.title }"
We will need to register the models in admin.py, so that we can access the admin panel:
from django.contrib import admin
from .models import *

admin.site.register(Article)
admin.site.register(Journalist)
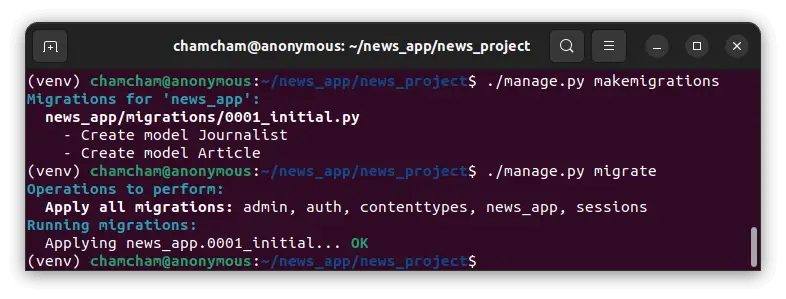
We will then run migrations:
$ python manage.py makemigrations
$ python manage.py migrate
Let's create a superuser to access the admin page:
$ python manage.py createsuperuser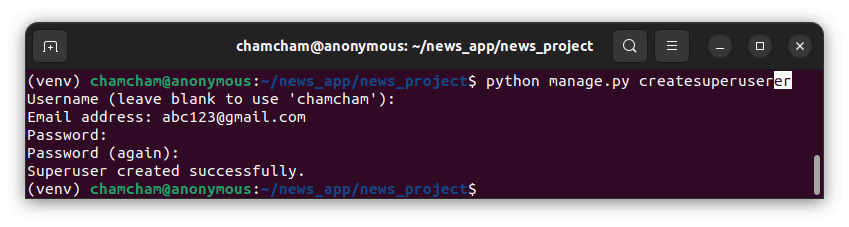
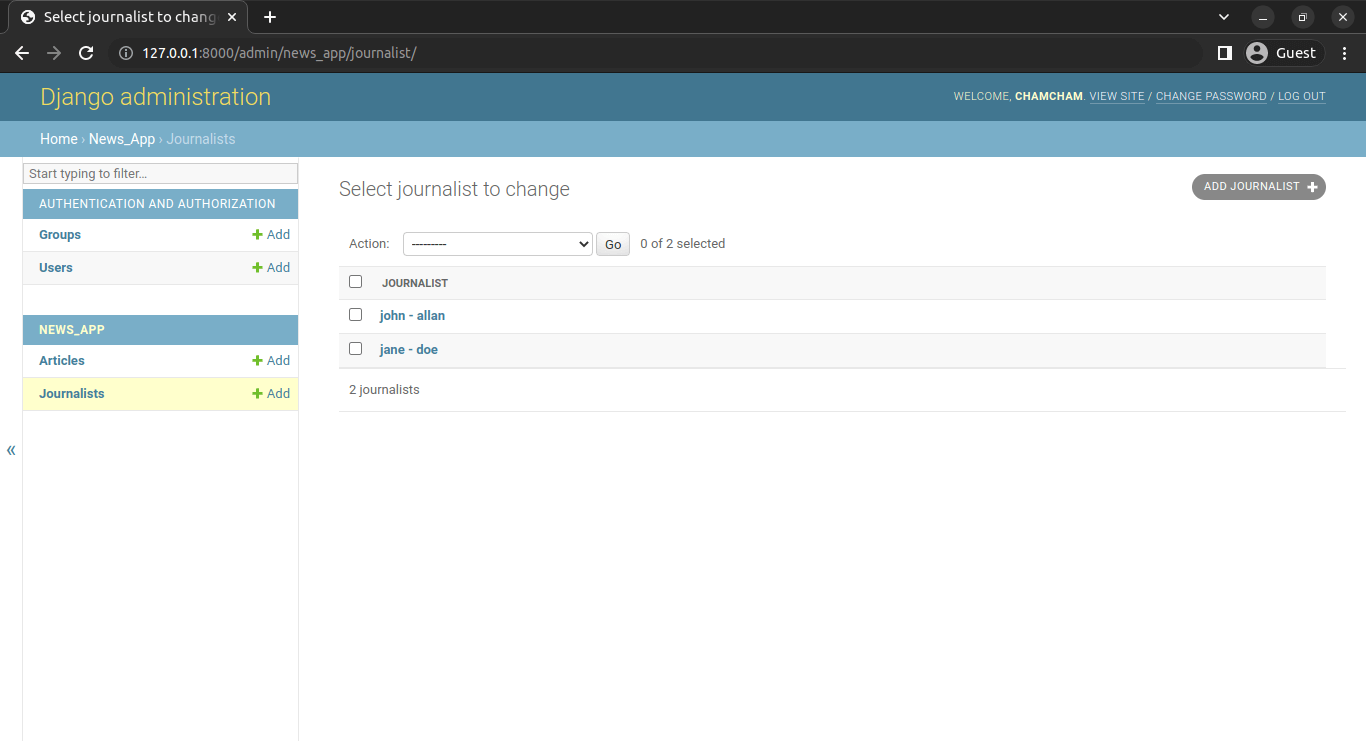
To access the admin panel, we enter http://127.0.0.1:8000/admin in the browser. After logging in, we can add the data for articles and journalists:
Let's install the Django Rest Framework:
$ pip install djangorestframeworkWe will then include it in the INSTALLED_APPS list in settings.py. We will need to create endpoints. The first endpoint will enable us to view all the journalists. In views.py:
from rest_framework.response import Response
from rest_framework.views import APIView

from .models import *

class JournalistView(APIView):
   def get (self, request):
       journalists = Journalist.objects.all()
       return Response({"journalists":journalists})
We will then need to link it with its URL. In the news_app folder, create a new file, and name it urls.py:
from django.urls import path
from .views import JournalistView

app_name="news_app"

urlpatterns=[
   path('journalist/', JournalistView.as_view() ),
]
The original urls.py file needs to know that this file exists.
In news_project/urls.py:
from django.contrib import admin
from django.urls import path,include

urlpatterns = [
   path('admin/', admin.site.urls),
   path('api/',include('news_app.urls')),
]
When we run http://127.0.0.1:8000/api/journalist/ in the browser, however, we get an error:
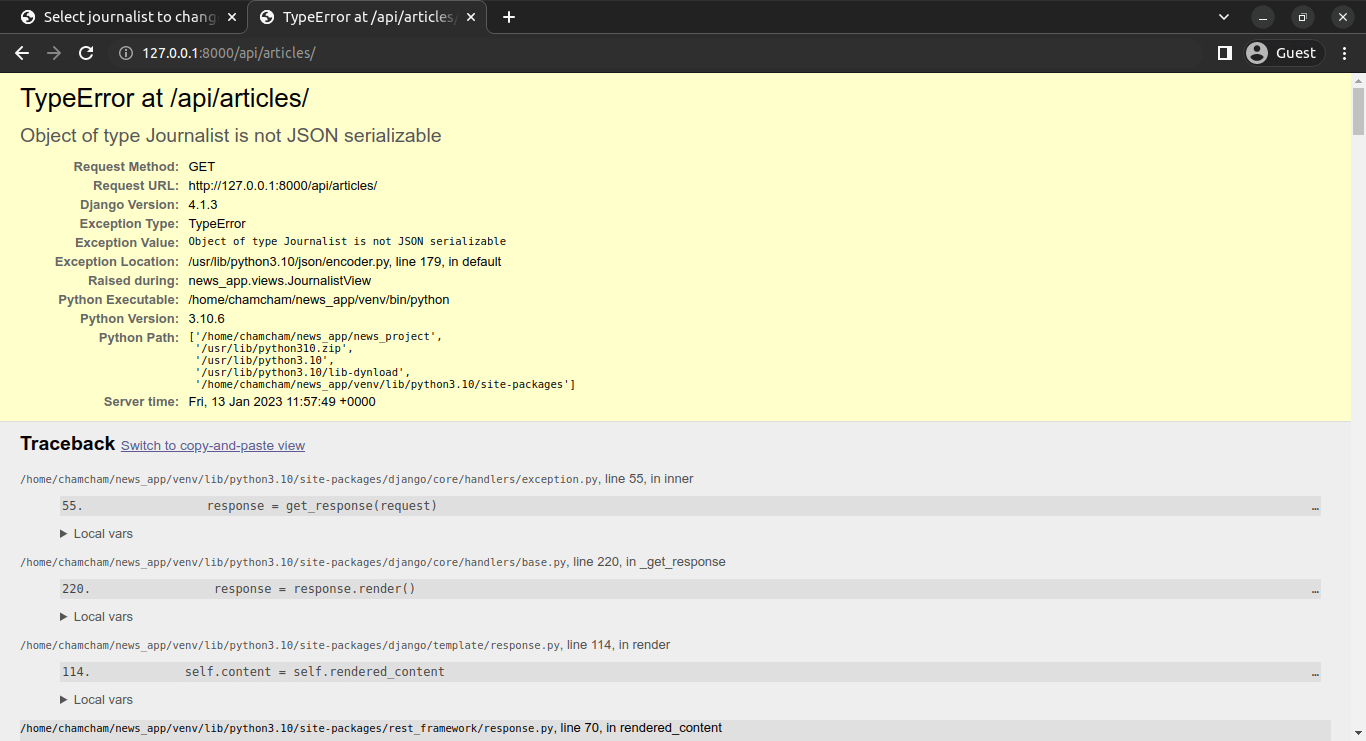
This is because we did not provide a class to serialize the Journalist object. That is where serializers come in.
Serializers in the Django REST Framework are in charge of converting objects into data types that Javascript and front-end frameworks can understand. Deserialization is also provided by serializers, which allows parsed data to be converted back into complex types after validating the incoming data.
We will create a new file inside the apps folder, called serializes.py:
from rest_framework import serializers

class JournalistSerializer(serializers.Serializer):
   first_name = serializers.CharField(max_length=60)
   last_name = serializers.CharField(max_length=60)
   bio = serializers.CharField()
The next thing will be to insert the serializers into our views:
from django.shortcuts import render

from rest_framework.response import Response
from rest_framework.views import APIView

from .models import *
from .serializers import JournalistSerializer
# Create your views here.


class JournalistView(APIView):
   def get (self, request):
       journalists = Journalist.objects.all()
       serializer = JournalistSerializer(journalists, many=True)
       return Response({"journalists":serializer.data})
The JournalistView class inherits from the APIViewclass provided by the Django REST Framework.
The get() method is used to handle GET requests to this view. Inside it, all Journalist objects are retrieved from the database using Journalist.objects.all(). The retrieved Journalist objects are then serialized into JSON format using the JournalistSerializer class.
The serialized data is returned as a response using the Response class provided by the Django REST Framework.
The returned response will have a JSON object with a key of "journalists", and the value will be an array of serialized Journalist objects, where each object corresponds to an individual journalist. The many=True argument passed to the serializer indicates that we are serializing multiple objects, rather than a single object.
Run the server again:
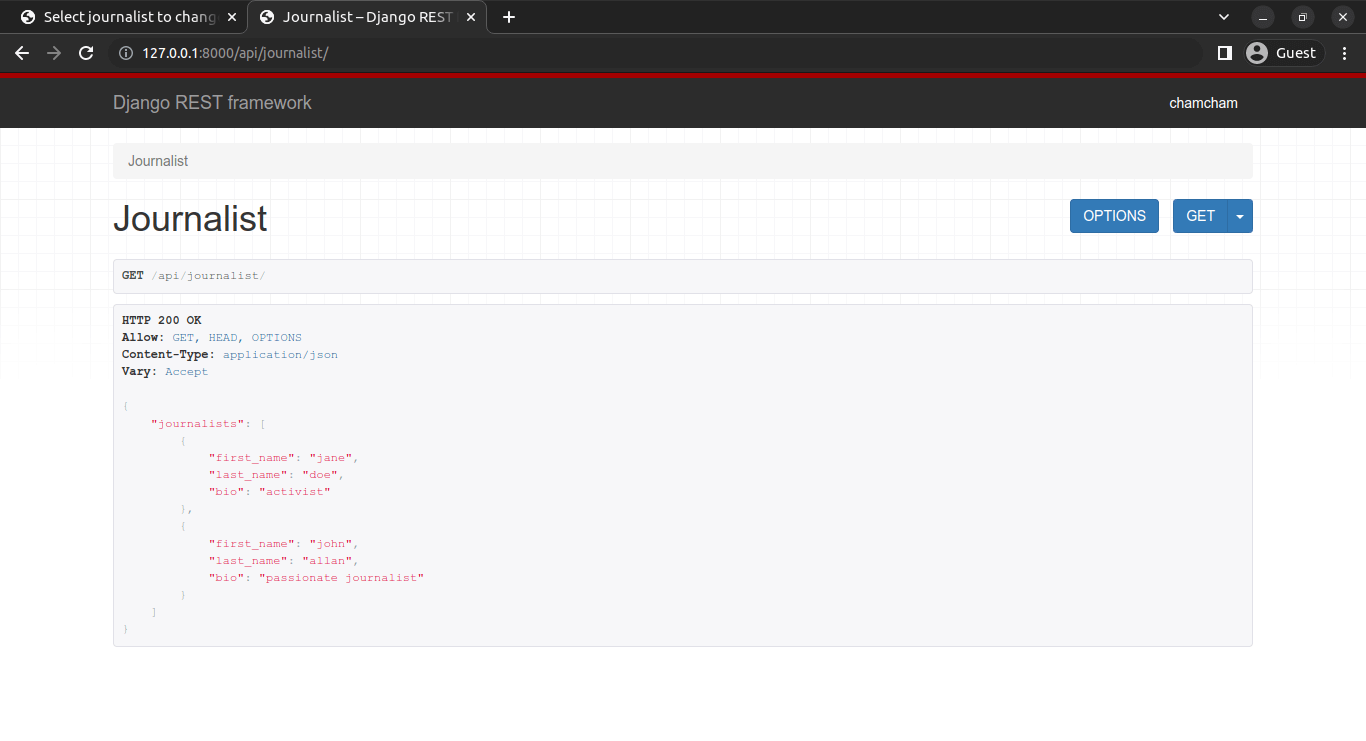
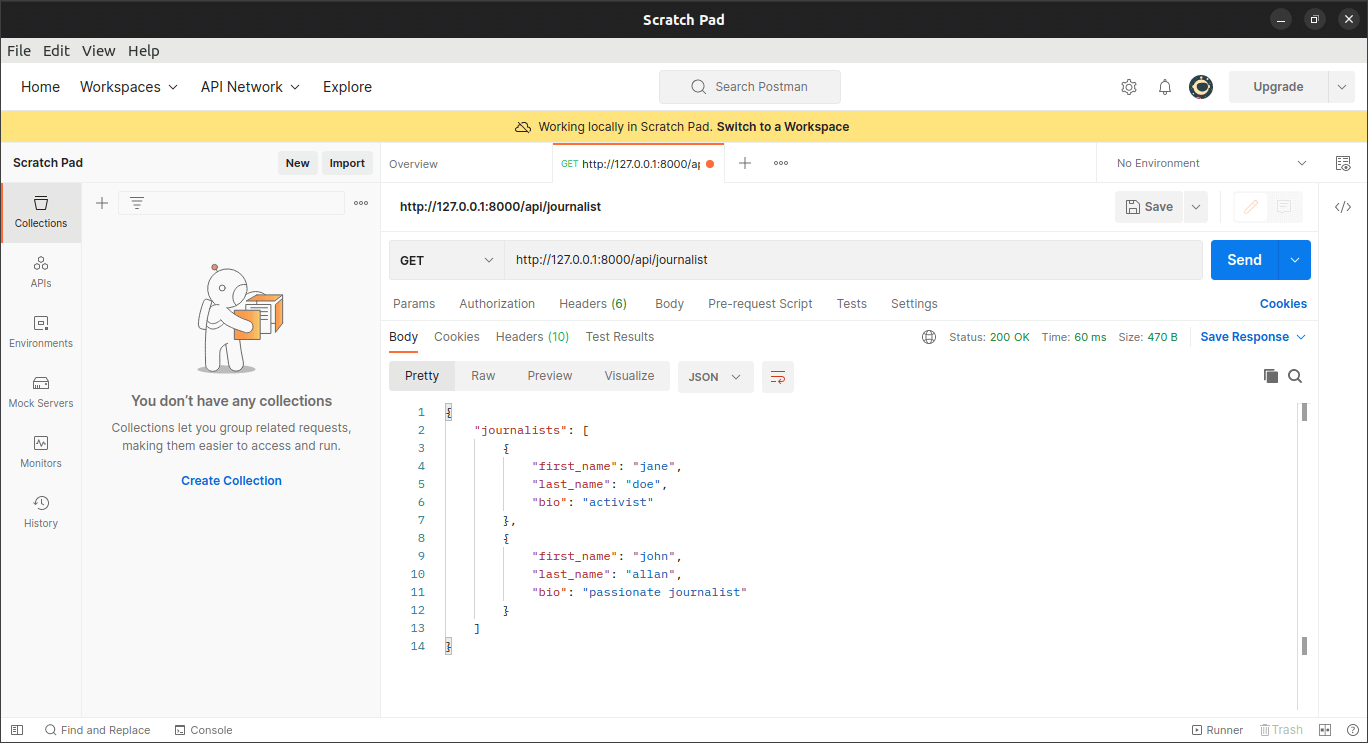
We now have the contents of the Journalist model. We have successfully created an endpoint where we can view the Journalists details.
We will use the Postman app to visualize it better:
We will then create another endpoint to view all the articles. We will start with updating the serializers.py file to include the articles serializers:
class ArticleSerializer(serializers.Serializer):

   title = serializers.CharField(max_length=120)
   description = serializers.CharField(max_length=200)
   body = serializers.CharField()
   location = serializers.CharField(max_length=120)
   publication_date = serializers.DateField()
We will then create its views in views.py:
from .serializers import JournalistSerializer, ArticleSerializer

class ArticleView(APIView):
   def get (self, request):
       articles = Article.objects.all()
       serializer = ArticleSerializer(articles, many=True)
       return Response({"articles":serializer.data})
We will then link it to the urls.py file:
from django.urls import path
from .views import JournalistView, ArticleView

app_name="news_app"

urlpatterns=[
   path('journalist/', JournalistView.as_view() ),
   path('article/', ArticleView.as_view() ),
]
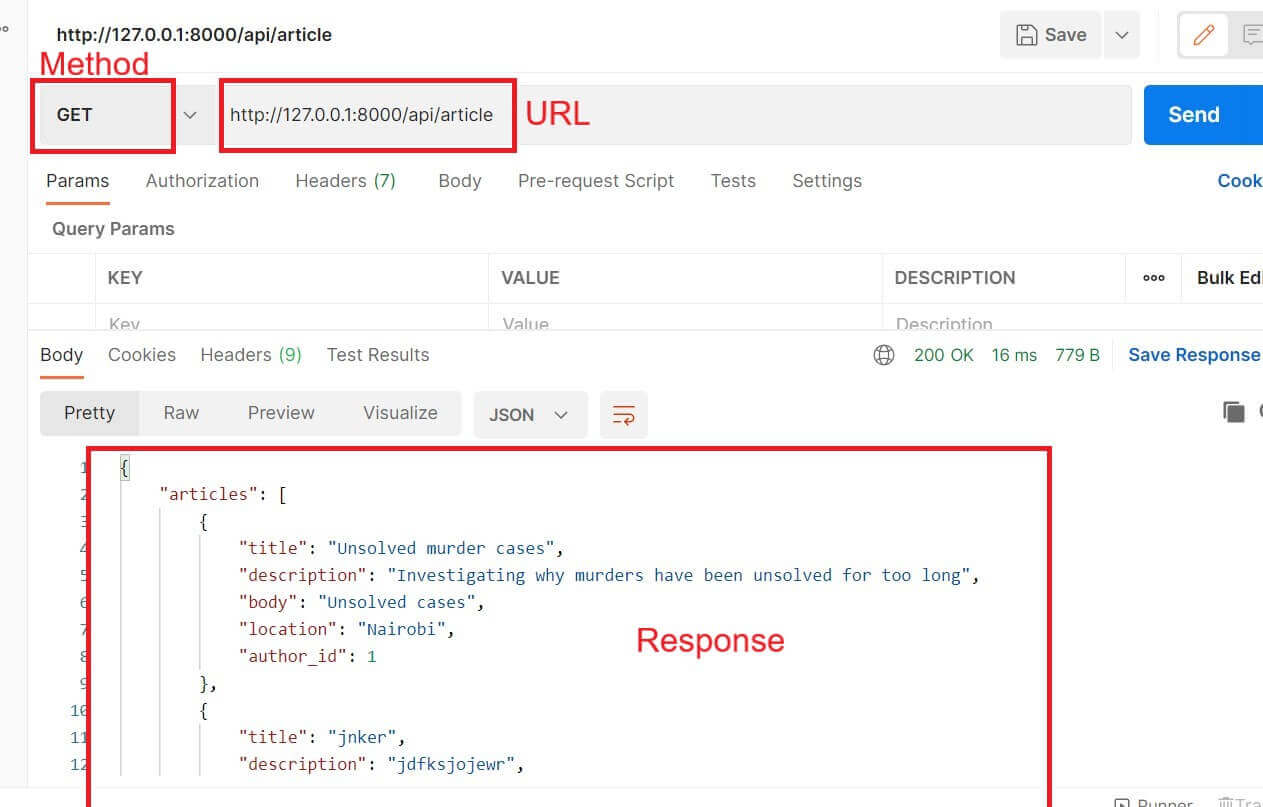
Input the URL http://127.0.0.1:8000/api/article/ in the Postman:
This allows one to create the authors and journalist data through the admin site. However, not everyone can access the admin site. We will create a new endpoint for users to create new articles using APIViews.
APIView is a class provided by DRF used to define class-based views for handling HTTP requests. It is a base class that can be extended to create views that handle different types of requests such as GET, POST, PUT, DELETE, etc.
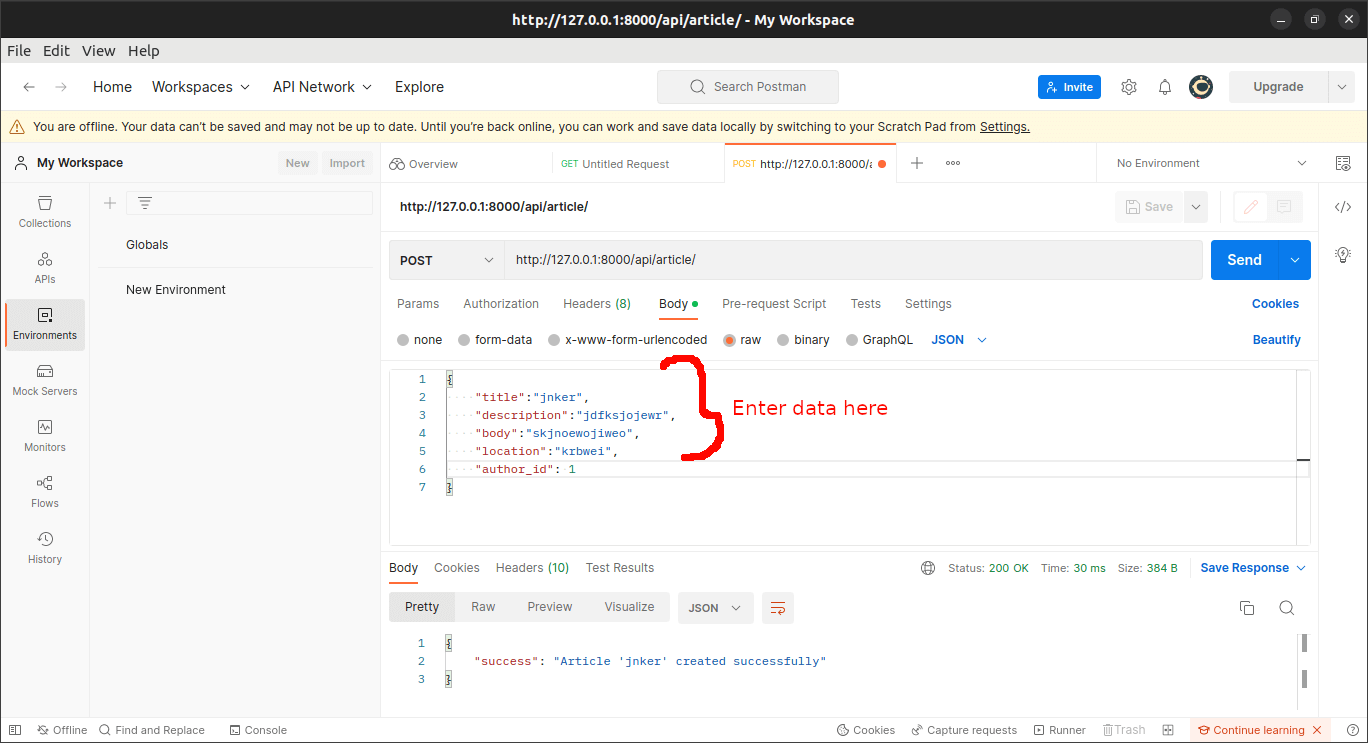
We will add a new post method within our ArticleView:
This defines a view function that handles HTTP POST requests. The view function expects a JSON payload with an "article" field that contains the data for the new article to be created:
   def post(self, request):
       article = request.data.get('article')

       serializer = ArticleSerializer(data=article)
       if serializer.is_valid(raise_exception=True):
           saved_article = serializer.save()
       return Response({"success": "Article '{}' created successfully".format(saved_article.title)})
The view function then creates an instance of the ArticleSerializer class and passes the "article" data to it. The is_valid() method is called on the serializer to validate the data against the serializer's validation rules. If the data is not valid, a validation error is raised and a 400 Bad Request response is returned.
If the data is valid, the serializer.save() method is called to create a new Article object and save it to the database. The saved article object is returned in the HTTP response along with a success message.
However, we have not mentioned the journalist in our response. We should create an author_id and implement a create method so that serializers can create articles when the save method is input.
In serializers.py:
class ArticleSerializer(serializers.Serializer):

   title = serializers.CharField(max_length=120)
   description = serializers.CharField(max_length=200)
   body = serializers.CharField()
   location = serializers.CharField(max_length=120)
   publication_date = serializers.DateField()
   author_id = serializers.IntegerField()

   def create(self, validated_data):
       return Article.objects.create(**validated_data)
This would be how to create a new article.
Now that we can create new articles, we should be able to edit them. We will create a PUT request for the article to update the articles' endpoint.
Now we should add an update() to our serializer so that the update is done for us. In serializers.py file:
class ArticleSerializer(serializers.Serializer):

   title = serializers.CharField(max_length=120)
   description = serializers.CharField(max_length=200)
   body = serializers.CharField()
   location = serializers.CharField(max_length=120)
   publication_date = serializers.DateField()
   author_id = serializers.IntegerField()

   def create(self, validated_data):
       return Article.objects.create(**validated_data)

   def update(self, instance, validated_data):
       instance.title = validated_data.get('title', instance.title)
       instance.description = validated_data.get('description', instance.description)
       instance.body = validated_data.get('body', instance.body)
       instance.author_id = validated_data.get('author_id', instance.author_id)
       instance.location = validated_data.get('location', instance.location)
       instance.publication_date = validated_data.get('publication_date', instance.publication_date)

       instance.save()
       return instance
The update() method takes two arguments: instance, which is the existing article instance to be updated, and validated_data, which is a dictionary of the new data to be updated. The method then updates the fields of the instance with the corresponding values from the validated_data dictionary using the get method.
If a new value is not provided for a particular field in validated_data, the existing value of that field in instance is used. After updating the fields, the instance is saved and returned as the response.
We will then write a code for obtaining the update request by the user followed by updating the article.
We will create a new class ArticleDetailView and define a put() function:
class ArticleDetailView(APIView):
   def put(self, request, pk):
       saved_article = get_object_or_404(Article.objects.all(), pk=pk)
       serializer = ArticleSerializer(instance=saved_article, data=request.data, partial=True)
       if serializer.is_valid(raise_exception=True):
           article_saved = serializer.save()
       return Response({"success": "Article '{}' updated successfully".format(article_saved.title)})
The view function first retrieves the existing article object from the database using get_object_or_404(), then creates an instance of the ArticleSerializer class to validate and update the object with new data. If the data is valid, the updated object is returned in the HTTP response with a success message.
We will then add a new path to the article URL in urls.py:
from django.urls import path
from .views import JournalistView, ArticleView, ArticleDetailView

app_name="news_app"

urlpatterns=[
   path('journalist/', JournalistView.as_view() ),
   path('article/', ArticleView.as_view() ),
   path('article/<int:pk>/', ArticleDetailView.as_view()),
]
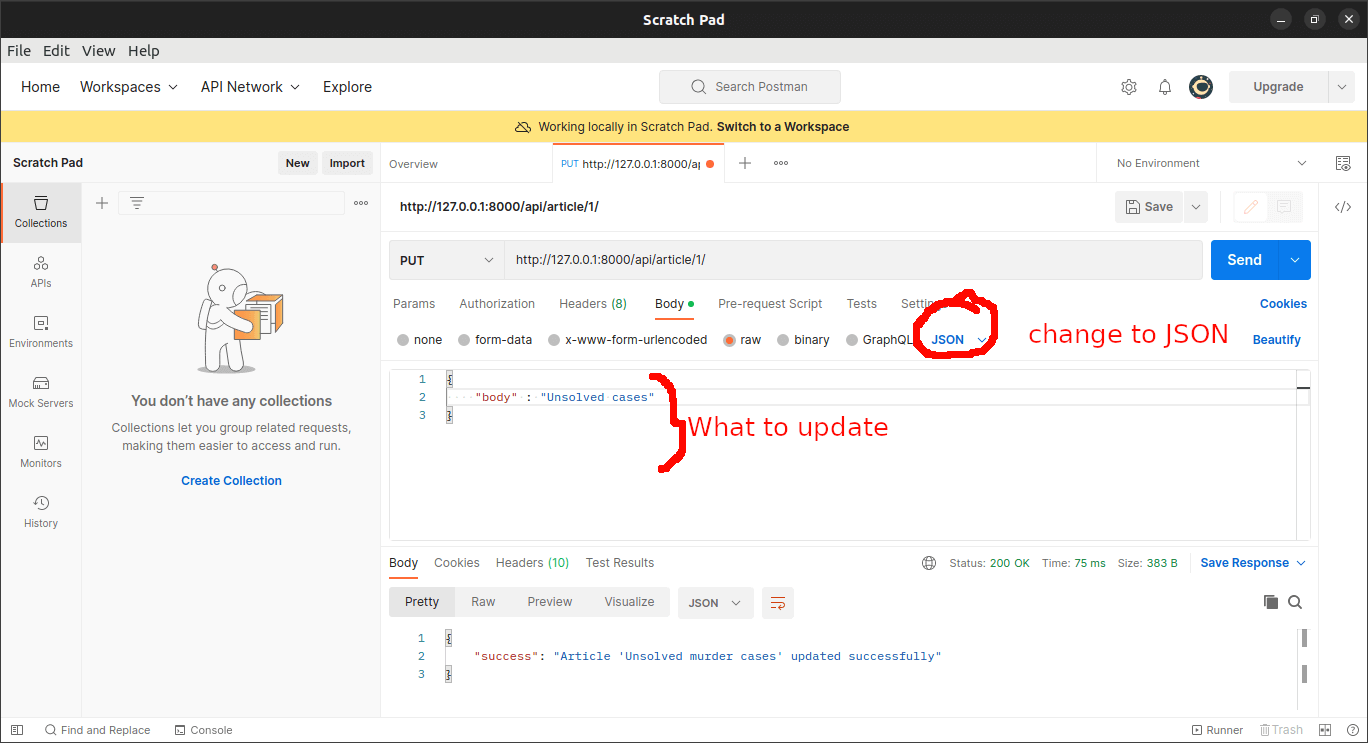
Suppose we want to update the body of one of the articles, whose primary key is 1. We will input the URL http://127.0.0.1:8000/api/article/1/ in Postman. We will input the data we want to update inside the body, then chose the PUT method and hit SEND.
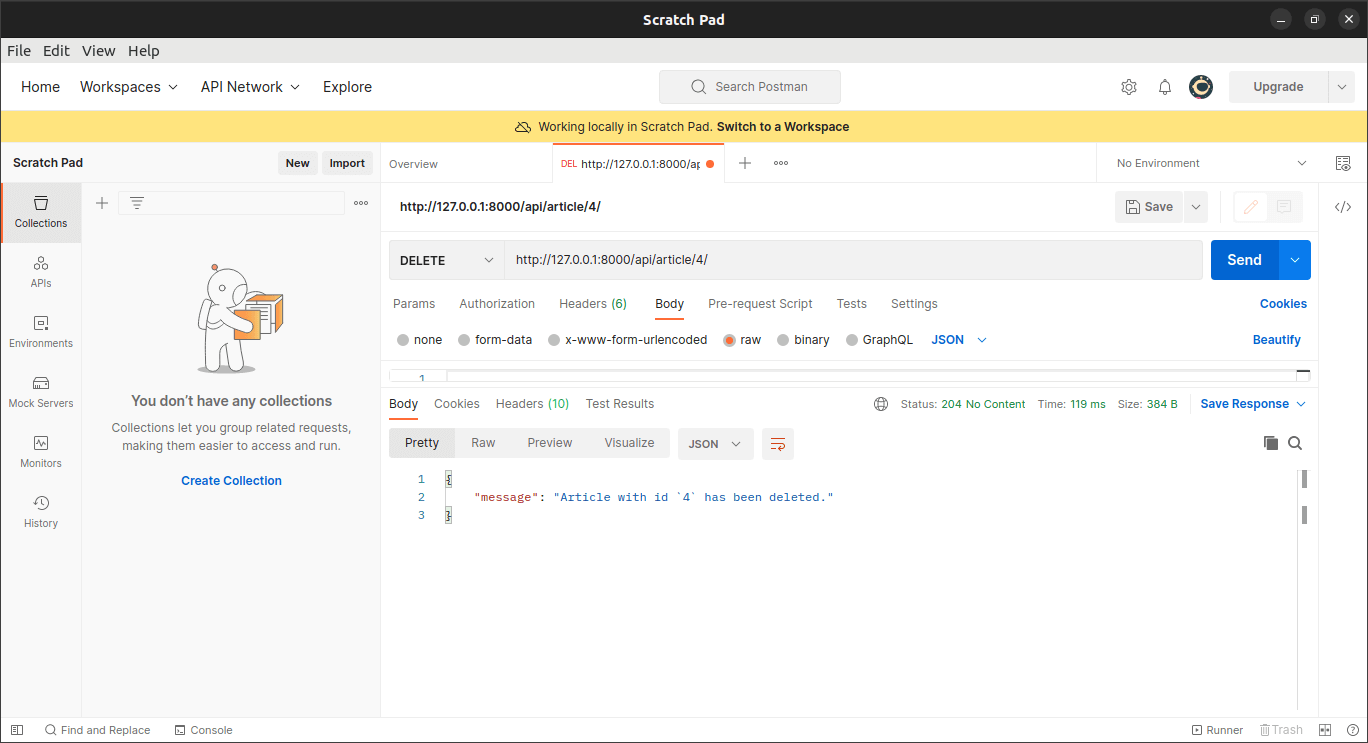
Now that we are able to update, we should be able to delete the articles in case we don't want them anymore. We add a delete() method to the APIDetailView. In views.py:
   def delete(self, request, pk):
       # Get object with this pk
       article = get_object_or_404(Article.objects.all(), pk=pk)
       article.delete()
       return Response({"message": "Article with id `{}` has been deleted.".format(pk)},status=204)
This retrieves the article object with the specified ID using get_object_or_404(), deletes it from the database using the delete() method, and returns a JSON response indicating that the object has been deleted, along with a 204 No Content status code.
To delete the fourth article in our app, we will input URL http://127.0.0.1:8000/api/article/4/ in Postman, select DELETE method and hit SEND. We will get a message that our article has been deleted successfully.
Conclusion
In this article, you have learned to successfully create APIs for a simple CRUD application, that's a news site. You should also be able to understand the use of serializers in the Django Rest Framework.
Learn also: How to Make an Accounting App with Django in Python.
Get the complete code here.
Happy coding ♥
Just finished the article? Why not take your Python skills a notch higher with our Python Code Assistant? Check it out!
View Full Code Create Code for Me


Got a coding query or need some guidance before you comment? Check out this Python Code Assistant for expert advice and handy tips. It's like having a coding tutor right in your fingertips!