Unlock the secrets of your code with our AI-powered Code Explainer. Take a look!
Django is a powerful web framework that can help you build complex web applications. It is based on MVC (Model-View-Controller), but you call the Controller the "View", and the View the "Template", resulting in MVT (Model-View-Template), as mentioned in the Django docs.
This tutorial will show you how to build a simple book store application using Django. We will use the Bootstrap framework to style our web pages and the SQLite3 database to store our data. With the help of this article, you will learn how to build a Book store CRUD application using Django.
The term CRUD simply stands for Create Read Update and Delete, and building this application will help you understand or grasp some of the most important aspects of the Django framework.
Table of Contents
- Creating the Virtual Environment
- Installing the Project's Dependencies
- Creating the Project and the App
- Registering the App in the
settings.pyFile - Creating the Bookstore App URLs and Views
- Configuring the URLs of the Application
- Testing the URLs
- Configuring the Static Files
- Building the Models for the App
- Populating the Book Model using the Django Shell
- Django Admin Site
- Adding and Updating Books in the Admin Site
- Building the Frontend
- Conclusion
Creating the Virtual Environment
Using the terminal, let us, first of all, create the virtual environment for this project. Naming it project, this is not the convention; you can name it whatever you want:
$ python -m venv projectNow activate the virtual environment using the following command on Windows:
$ .\project\Scripts\activateOn macOS or Linux:
$ source project/bin/activateInstalling the Project's Dependencies
We will then install the required libraries inside the activated virtual environment, the Django framework:
$ pip install Django PillowWe will use the latest version of Django and Pillow for image operations used by ImageField.
Creating the Project and the App
After successfully installing all our project's dependencies, we now create the project and the application. For making the project, use the below command:
$ django-admin startproject bookstoreThis command will create the bookstore folder and the manage.py file as shown below:
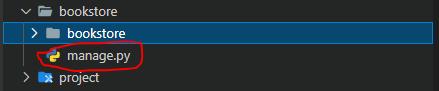
The manage.py is a script file that is used to run Django administrative commands in the terminal like the runserver, startproject, startapp, etc.
The philosophy of Django is that you have one root folder, which is the project folder, and inside this project folder you have applications.
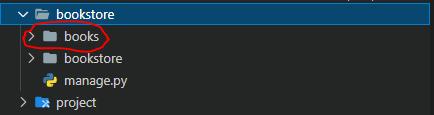
Now cd into the bookstore folder, this is where we will create our application. Create the application by using this command:
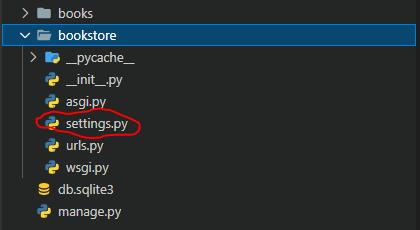
$ python manage.py startapp booksIn your editor, you should have the directory structure like the below:
Reaching this far, we can now test what we have implemented so far. Let us run the application:
$ python manage.py runserverYou will get the following output:
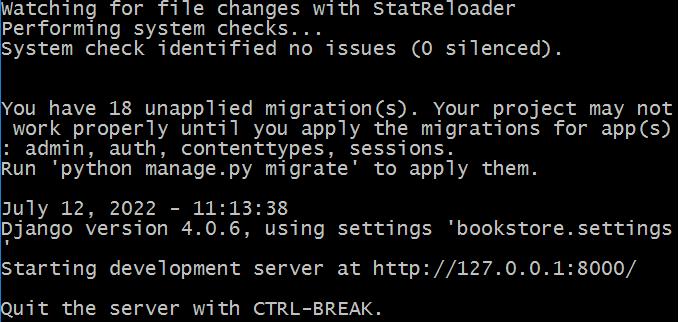
Our application is running at http://127.0.0.1:8000, copy the URL and paste it into your browser:
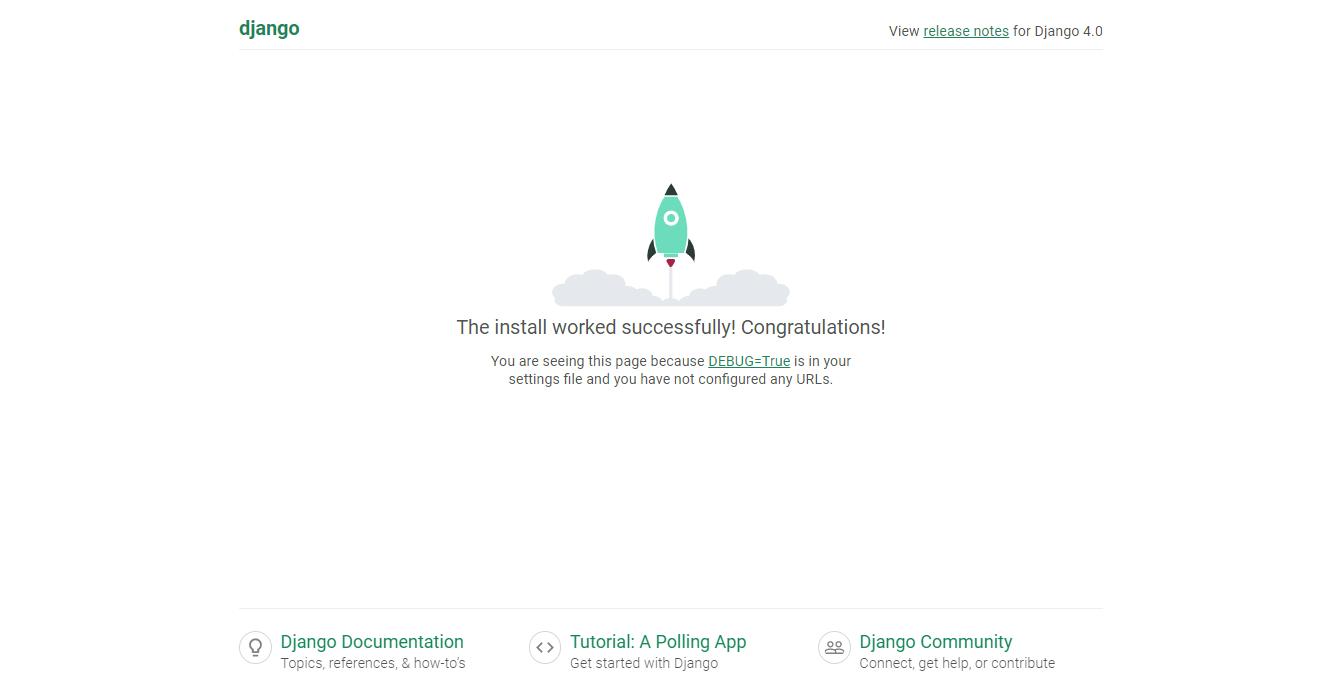
This means that we have successfully installed Django, and in case you want to shut down the Django server, just press CTRL+C.
Registering the Application in the settings.py File
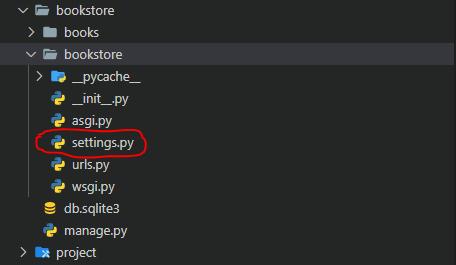
We must register every Django application in the settings.py so that Django recognizes it and all its configurations. So let's register the books app that we have just created. Open the settings.py file found inside the bookstore folder:
Scroll down to the INSTALLED_APPS list, make the list look as follows:
INSTALLED_APPS = [
    'django.contrib.admin',
    'django.contrib.auth',
    'django.contrib.contenttypes',
    'django.contrib.sessions',
    'django.contrib.messages',
    'django.contrib.staticfiles',
    # Our created application
    'books',
]
Creating the Bookstore App URLs and Views
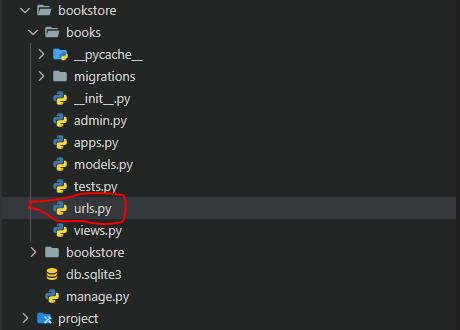
Inside the books folder, create a urls.py file:
After creating the urls.py file, let us create the views for the application, open the views.py file, this application will have five views:
home()add_book()edit_book()delete_book()book_detail()
Add the following to the views.py file:
from django.shortcuts import render
from django.http import HttpResponse

# this is a view for listing all the books
def home(request):
    return HttpResponse('Home Page')

# this is a view for listing a single book,it will take id as an argument
def book_detail(request, id):
    return HttpResponse('Book Detail')

# this is a list for adding a book
def add_book(request):
    return HttpResponse('Add Book')

# this is a view for editing the book's info
def edit_book(request):
    return HttpResponse('Edit Book')

# this is a view for deleting a book,it will take id as an argument
def delete_book(request, id):
    return HttpResponse('Delete Book')
Now we need to register these views in the books' application urls.py file, open the urls.py and make it look like this:
from django.urls import path
# this imports all the views from the views.py
from . import views

urlpatterns = [
    # this is the home url
    path('', views.home, name='home'),
    # this is the single book url
    path('book-detail/<str:id>/', views.book_detail, name='book-detail'),
    # this is the add book url
    path('add-book/', views.add_book, name='add-book'),
    # this is the edit book url
    path('edit-book/<str:id>/', views.edit_book, name='edit-book'),
    # this is the delete book url
    path('delete-book/<str:id>/', views.delete_book, name='delete-book'),
]
This is where we register all the created views; the path() function is used to create a URL path. It takes three arguments: the actual path, the view, and the name of the view.
Configuring the URLs of the Application
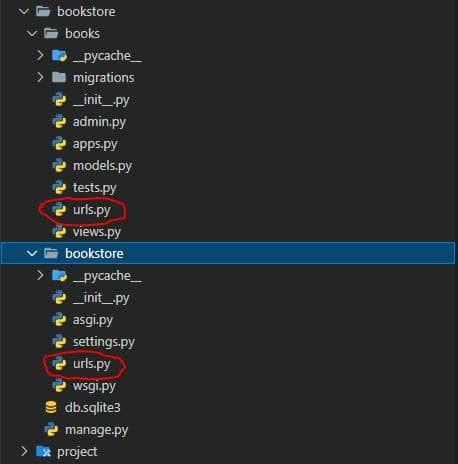
Let us now configure our URLs. In Django, we have two urls.py files, the first one comes with Django and is used for registering all the applications' URLs, and it is found in the project root folder.
The second urls.py file is created inside the application's folder by the user. In our case, it will be made inside the books folder:
First things first, let us register our application's URLs and open the urls.py file in the project root folder:
Open the bookstore/urls.py file, and make sure it looks like that:
# importing the django's in-built admin url
from django.contrib import admin
# importing path and include from django's in-built urls
from django.urls import path, include

# defining the list for urls
urlpatterns = [
    path('admin/', admin.site.urls),
    # registering books application's urls in project
    path('bookstore/', include('books.urls')),
]
In the above code, we register the URLs of all the applications created in our project; we use Django's built-in include() function, this function points to the urls.py of an application (e.g., books/urls.py).
Testing the URLs
Now, after successfully creating our views and configuring them in the project's urls.py file, let us test them and make sure the server is running:
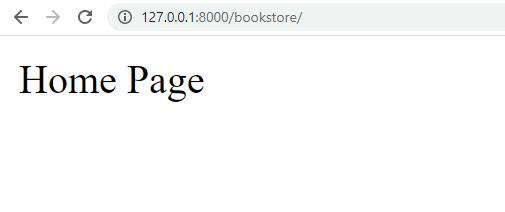
For the home page, the URL is http://127.0.0.1:8000/bookstore/

For the adding book page, the URL is http://127.0.0.1:8000/bookstore/add-book/
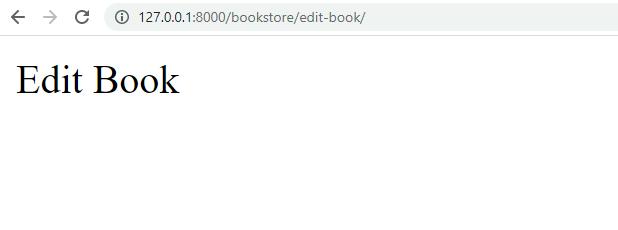
The edit book page URL is http://127.0.0.1:8000/bookstore/edit-book/1/
Since the book-detail, edit-book, and delete-book URLs accept an id as an argument; we pass in a random id of 1:
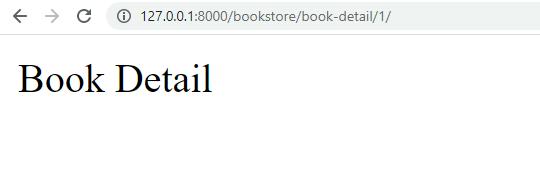
The book detail page URL is http://127.0.0.1:8000/bookstore/book-detail/1/

The delete book page URL is http://127.0.0.1:8000/bookstore/delete-book/1/
Now it seems that every URL is working perfectly.
Configuring the Static Files
Now we have to configure the static files settings, but before we do that, let's understand what static files are in Django.
Static files are your application's own files, such as CSS files, JS files, and images. The Django app can use these static files, and we must tell Django where to find and upload these static files, so open the settings.py file:
Scroll down to the bottom of the file, just below this line of code:
STATIC_URL = 'static/'Add the following lines of code:
# all images will be located in the images folder inside static folder
MEDIA_URL = '/images/'

# The application will find all the image files in the base static folder
MEDIA_ROOT = BASE_DIR / 'static/'

# The application will find all the static files in the base static folder
STATICFILES_DIRS = [ BASE_DIR / 'static' ]
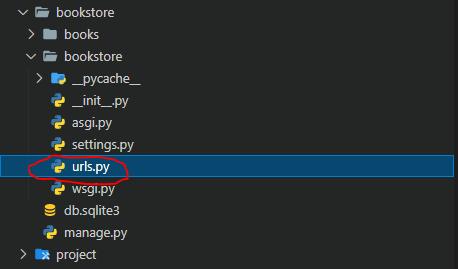
Now open the urls.py file inside the bookstore folder:

Make it look like this:
# importing the django's in-built admin url
from django.contrib import admin
# importing path and include from django's in-built urls
from django.urls import path, include

# importing conf from settings.py
from django.conf import settings
# importing conf.urls from static
from django.conf.urls.static import static

# defining the list for urls
urlpatterns = [
    path('admin/', admin.site.urls),
    # registering books application's urls in project
    path('bookstore/', include('books.urls')),
]
# appending the urls with the static urls
urlpatterns += static(settings.MEDIA_URL, document_root = settings.MEDIA_ROOT)
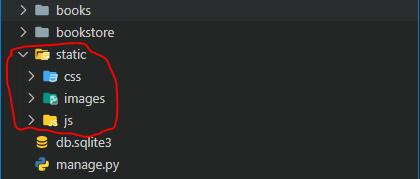
After successfully configuring our static settings, let us create the static folder, which will be in the root folder.
We would have different folders inside this static folder containing CSS files, JS files, and images. In our case, we will only have an images folder since our application will use external CSS and JS files from a CDN, making your folder structure look as follows:
Building the Models for the App
Inside the books application folder, open the models.py file, add the following Book model:
# the Book model with its fields
class Book(models.Model):
    title = models.CharField(max_length=100)
    author = models.CharField(max_length=100)
    price = models.DecimalField(max_digits=10, decimal_places=2)
    isbn = models.CharField(max_length=100)
    # this is the image for a book, the image will be uploaded to images folder
    image = models.ImageField(null=False, blank=False, upload_to='images/')
    created_at = models.DateTimeField(auto_now_add=True, null=True, blank=True)

    # this is the string representation
    # what to display after querying a book/books
    def __str__(self):
        return f'{self.title}'

    # this will order the books by date created
    class Meta:
        ordering = ['-created_at']
A standard book: We're adding the title, author, price, isbn, image, and created_at fields for the Book model.
Populating the Book Model using the Django Shell
Now that we have created our model successfully, the next thing is to populate it with data, but before we get to that, we need to perform migrations. To do that, we need to run two commands, the makemigrations and the migrate, these two commands are complementary to each other. To successfully run the migrations, first of all, run:
$ python manage.py makemigrationsYou will get the below output:

Now you'll notice a new file appeared in the books/migrations folder, these migrations files will be executed by the following migrate command:
$ python manage.py migrateTo get this output:
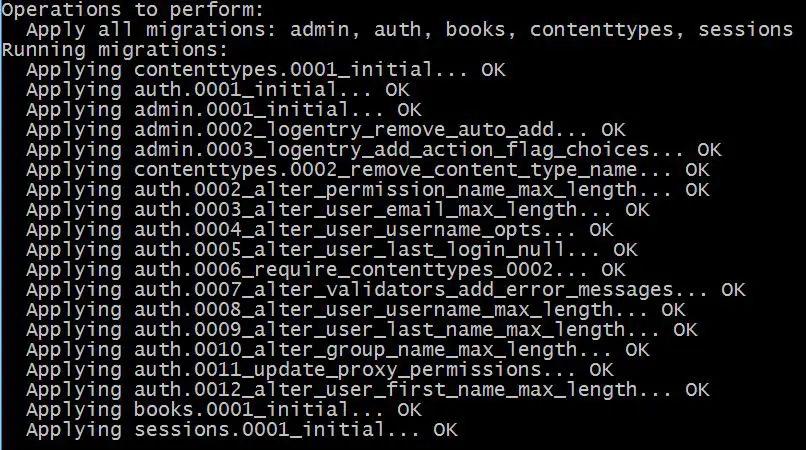
Django uses the SQLite3 database by default; this is a mini version of a database system for storing data. The SQLite3 file is included in your project just after creating the Django project:
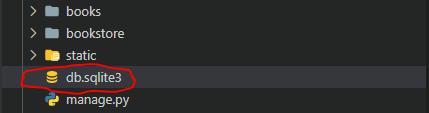
Now let us add a few books to the db.sqlite3 using the model we have just created, we do that in the shell:
$ python manage.py shellSo inside the shell, make sure you import the Book model before adding any books:
>>> from books.models import Book
>>> book1 = Book.objects.create(title='Ethical Hacking with Python', author='Abdou Rockikz', price=14.99)
>>> book2 = Book.objects.create(title='Java Programming', author='John Doe', price=10)
>>> book3 = Book.objects.create(title='Beginning Database Design', author='Khumbo Klein', price=7.05)
>>> book4 = Book.objects.create(title='Django 3 By Example', author='Jane Doe', price=12.55)
The create() method creates and saves an object to the database. Let's verify if the books were added successfully by retrieving all the objects from the model and using the below query:
>>> books = Book.objects.all()
>>> for book in books:
        print(book)
Output:
Django 3 By Example
Beginning Database Design
Java Programming
Ethical Hacking with Python
Django Admin Site
Using the Django shell, we have managed to add a few books to our database, but this did not involve adding books with their respective images. The Django shell comes in handy but is limited when you want to add files; you need to specify a path for any file you add to the database.
All these make the task tedious and error-prone, so Django comes with the built-in admin site that is so powerful because it helps you perform CRUD operations to your database with a few clicks of buttons. To access the admin site, there are two things involved. Firstly, you must create a superuser account and register all your models on the admin site.
Let us create the superuser. Run the below command:
$ python manage.py createsuperuserAfter running the command, you will get the below screen:

You are free to provide the credentials of your choice. Now that our admin superuser is created, let's register the Book model on the admin site. Inside the books application, open the admin.py file:
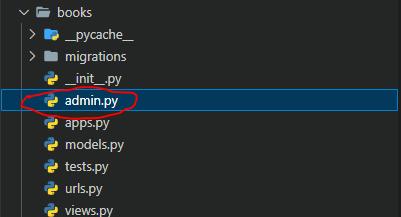
Make the admin.py file looks like below:
from django.contrib import admin
# from the models.py file import Book
from .models import Book

# registering the Book to the admin site
admin.site.register(Book)
Now that all is set, we log in to the admin site using the credentials we have created and make sure the server is running. If it is down, fire it up using runserver:
$ python manage.py runserverUsing the admin URL (http://127.0.0.1:8000/admin), you'll face the following page:

Now provide your credentials (the ones you created via createsuperuser command) to access the admin dashboard as below:
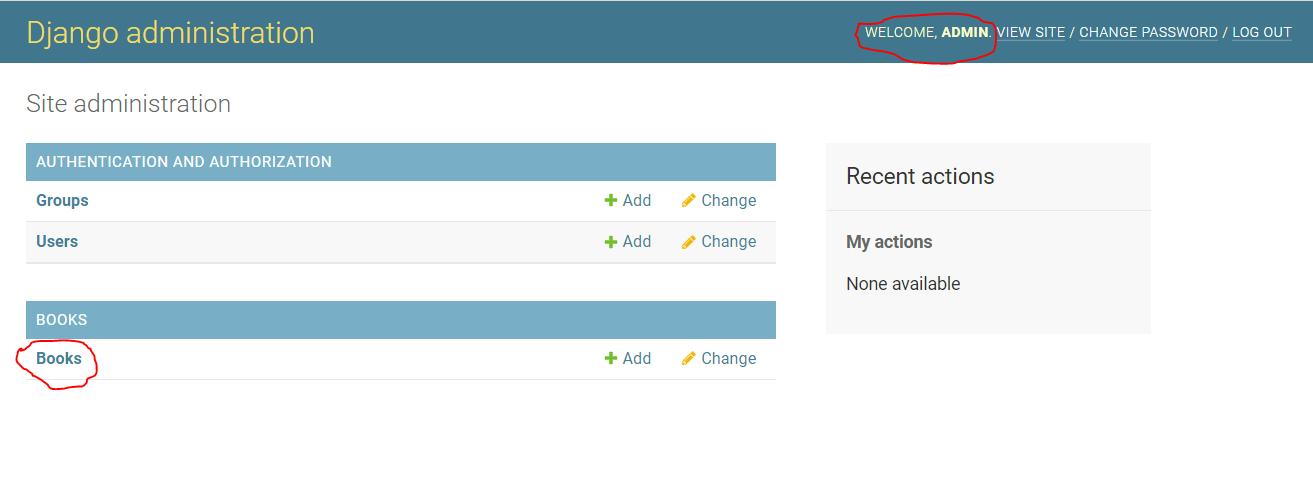
Now you have successfully logged in as the superuser and the Book model has been registered as well!
Adding and Updating Books in the Admin Site
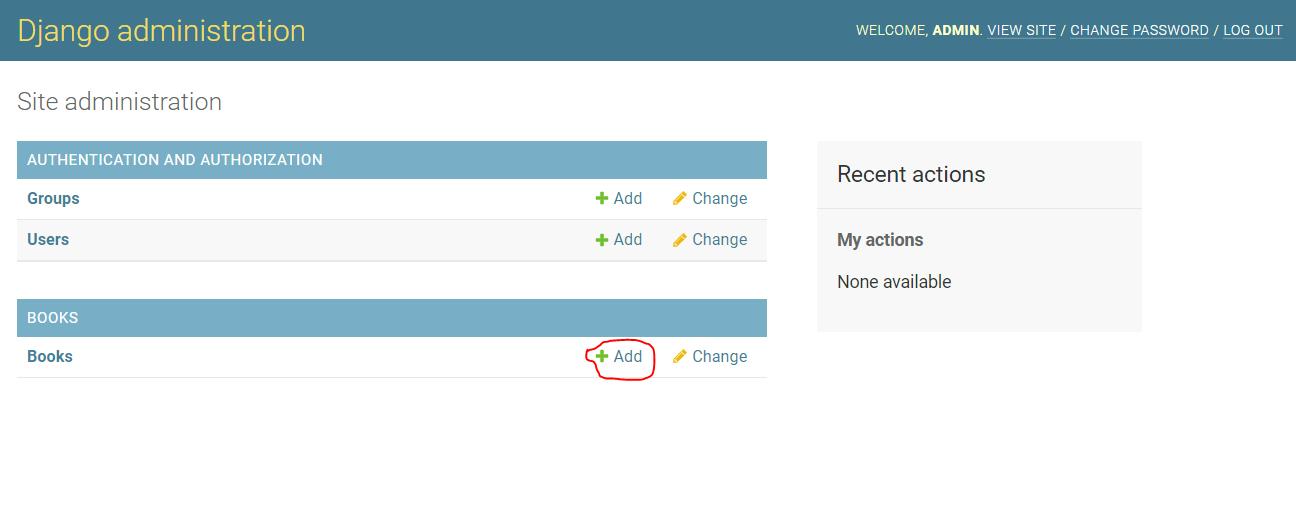
In this part, we will add and update some books using the admin site, under the Book to the right, there is the Add button:
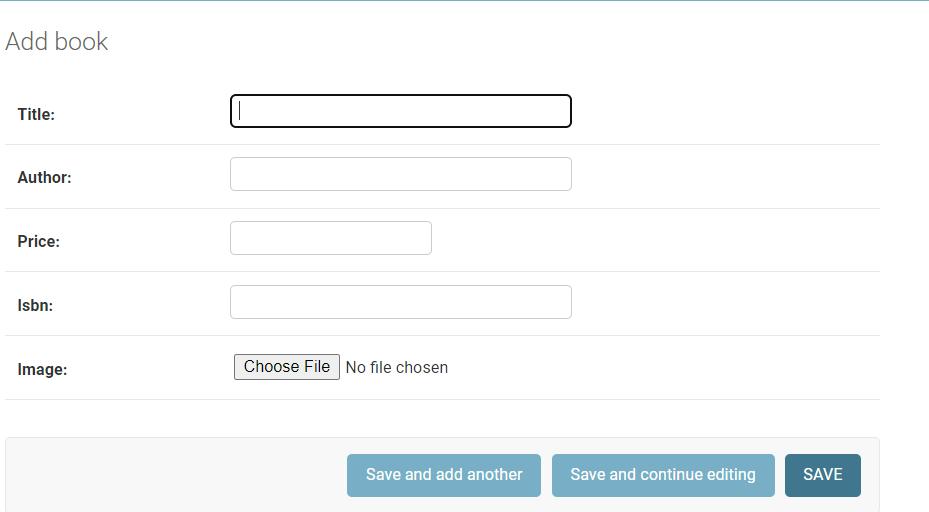
After clicking the button, you will have the add book form:
Let us add two more books:
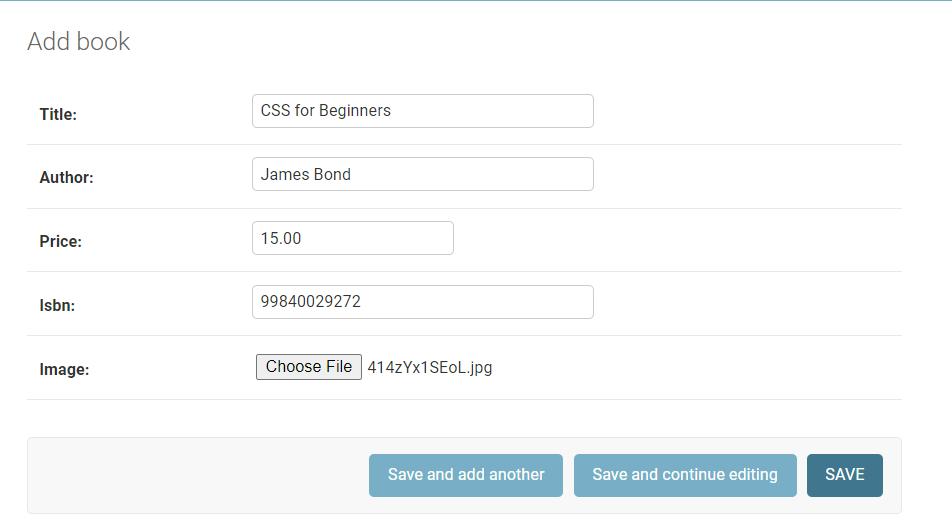
Click the Save and add another button:

Then click the Save button, and you will be redirected to this window:
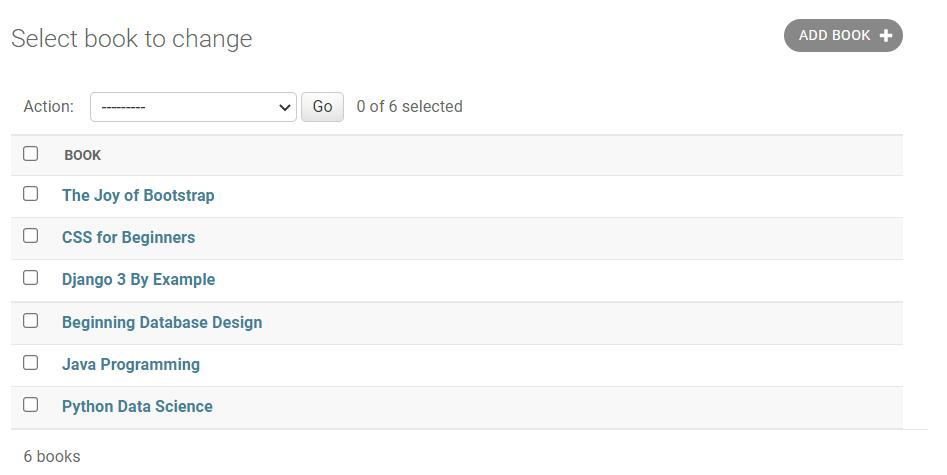
So far, we have managed to add six books to our database. If we check the images folder inside the static folder, we see that the images are uploaded there:
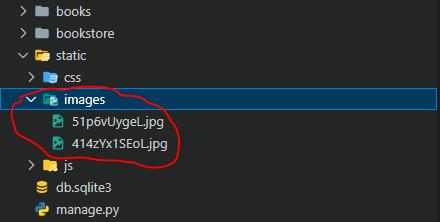
All book images will appear here.
Let us now update those four books we created using the Django admin, click the book's name, and it will take you to the update book form:
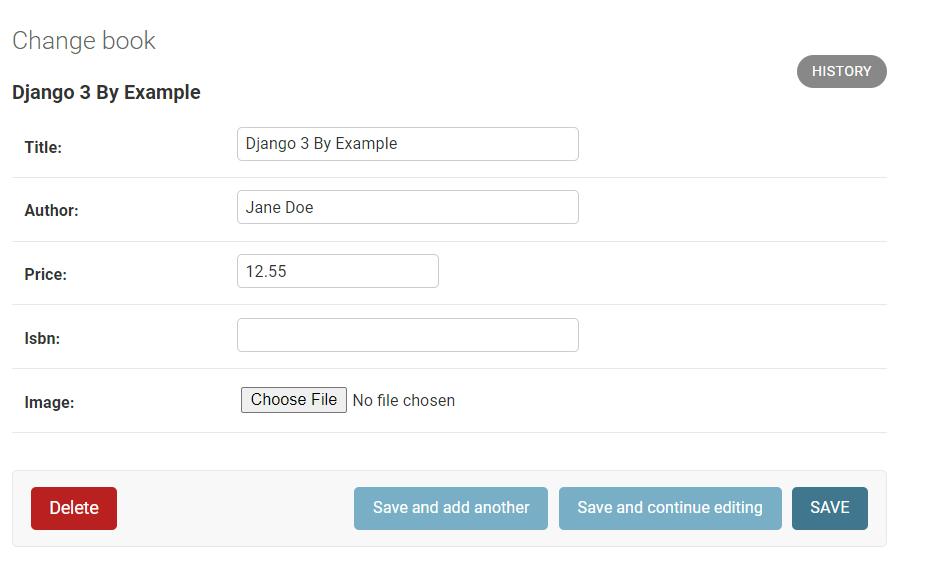
Since we want to update the book, the form will be already filled with the book's available information. Fill in the isbn and image fields:
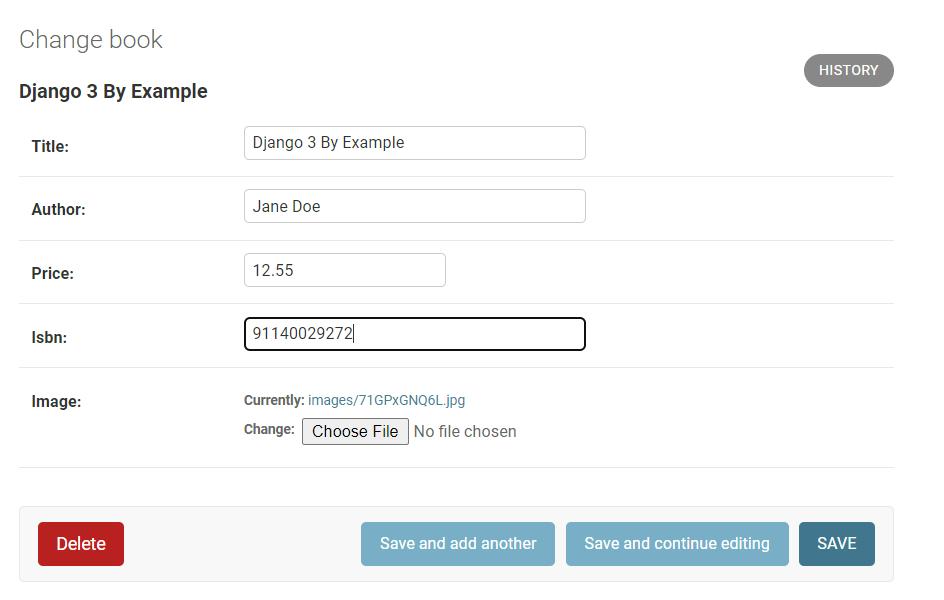
Follow the above procedure to update the remaining three books.
Building the Frontend
In this section, we will continue building our book store application. Our primary focus will be making the frontend part of the application using HTML and Bootstrap. At the same time, we will integrate the backend and the frontend. So brace yourself because, in this section, we will often switch between the backend and the frontend.
Creating our Templates
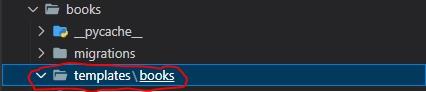
We will start by creating the templates for the application. Now inside the books application folder, create a folder named templates, and again inside this folder, create another folder named books; this is where all our HTML files will be located. Make sure to have a folder structure as follows:
Now let us create these HTML files:
base.htmlhome.htmlbook-detail.htmladd-book.htmlupdate-book.htmldelete-book.html
All the templates will inherit from the base.html file; we follow this template inheritance practice to have clean code. We are running away from repeating ourselves.
Open the base.html file and make it look like this:
<!DOCTYPE html>
<html lang="en">
<head>
    <meta charset="UTF-8">
    <meta http-equiv="X-UA-Compatible" content="IE=edge">
    <meta name="viewport" content="width=device-width, initial-scale=1.0">
    <title>Book Store</title>
    <!-- CSS only -->
    <link href="https://cdn.jsdelivr.net/npm/bootstrap@5.2.0/dist/css/bootstrap.min.css" rel="stylesheet">
</head>
<body>
    {% block content %}

    {% endblock %}
</body>
</html>
A boilerplate HTML and we're adding the CSS file for Bootstrap 5.
Displaying the Books
After that, open the home.html file and add the following:
<!-- inheriting from the base file -->
{% extends 'books/base.html' %}
<!-- this will help render the images -->
{% load static %}
{% block content %}
<div class="container mb-4">
<div class="row">
<!-- side navbar here -->
<div class="col-md-3 mt-3">
<div class="card">
<h4 class="card-header px-3">Menu</h4>
<ul class="list-group list-group-light list-group-small">
<li class="list-group-item px-3"><a href="">Home</a></li>
</ul>
<a href="" class="m-2 btn btn-dark btn-sm">Add Book</a>
</div>
</div>
<!-- books here -->
<div class="col-md-9 mt-3">
<div class="row">
<!-- using a for loop to loop through all the books -->
{% for book in books %}
<div class="col-md-4">
<div class="card my-2">
<a href="">
<!-- this is the book image -->
<img src="{{ book.image.url }}" class="card-img-top" style="height:275px" />
</a>
<div class="card-body">
<!-- this is the book title -->
<h4 class="card-text">{{ book.title }}</h4>
</div>
<a href="" class="m-2 btn btn-outline-dark btn-sm">View Book</a>
</div>
</div>
{% endfor %}
</div>
</div>
</div>
</div>
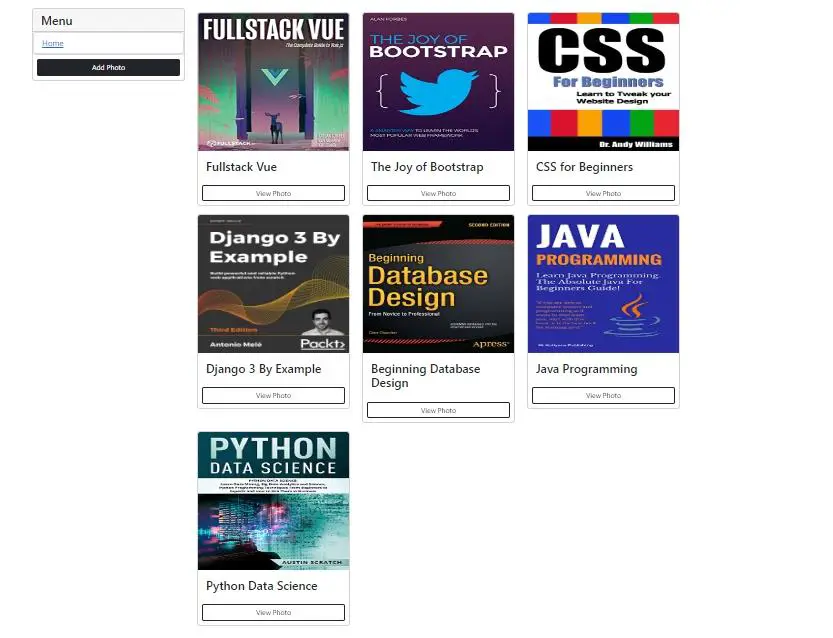
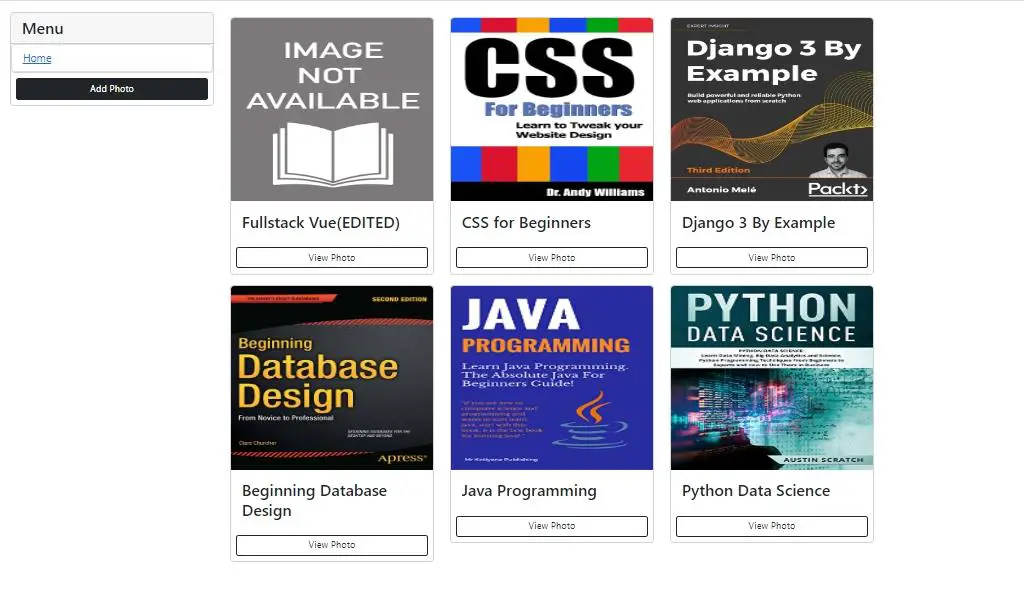
{% endblock %}The home.html template is for rendering all the books fetched by the home() view from the Bookstore database; three books are displayed in each row.
Now let us edit the views.py file, on top of the file, paste these lines of code:
from django.shortcuts import render
from .models import Book
Edit the home() view and make it look like this:
# this is a view for listing all the books
def home(request):
    # retrieving all the books from the database
    books = Book.objects.all()
    context = {'books': books}
    return render(request, 'books/home.html', context)
We're listing all the books available in the Book model, fetching these books from the database and rendering them in home.html.
Let's now test this view, fire up the server:
$ python manage.py runserverAnd open http://127.0.0.1:8000/bookstore/. Make sure you get this output:
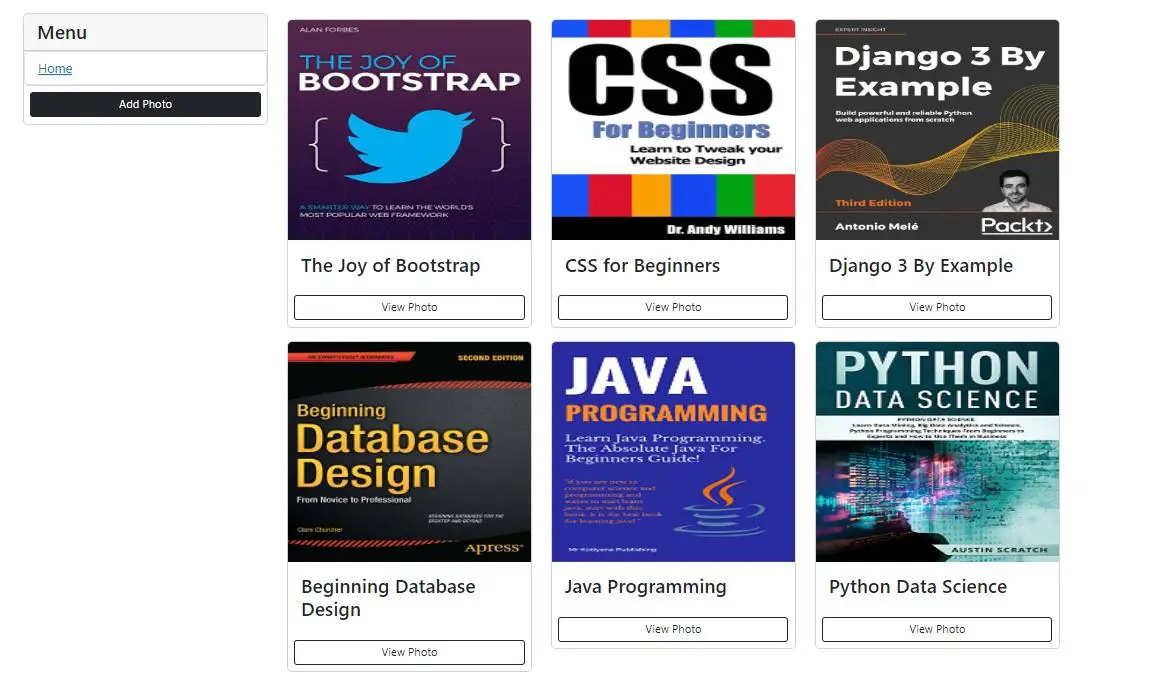
The home() view is working perfectly!
Displaying a Single Book
Let us implement the book_detail() view, open the views.py file and scroll down to the book_detail() function, edit it, and make it look like this:
# this is a view for listing a single book
def book_detail(request, id):
# querying a particular book by its id
book = Book.objects.get(pk=id)
context = {'book': book}
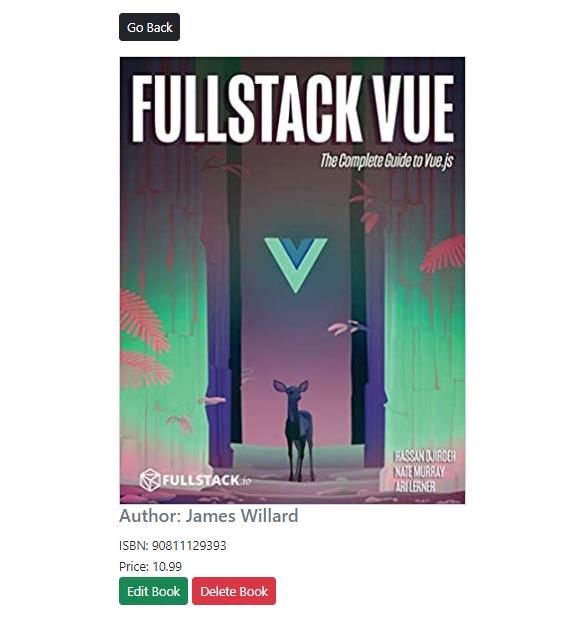
return render(request, 'books/book-detail.html', context)The above view lists a single book along with its details whose id is passed to the function.
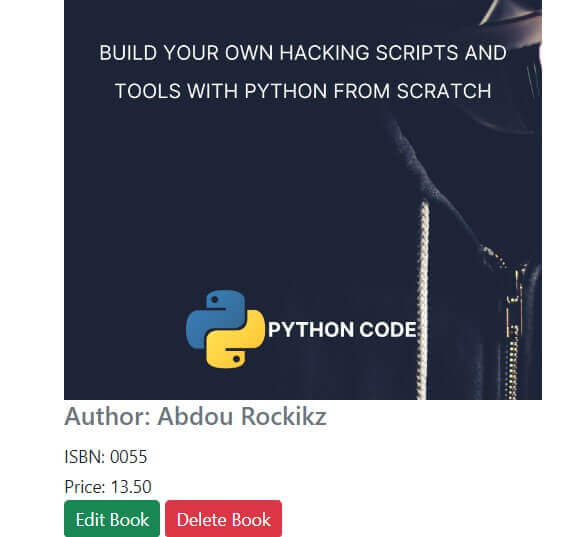
Now open the book-detail.html template and paste the following code:
{% extends 'books/base.html' %}
<!-- loads images -->
{% load static %}

{% block content %}
    <div class="row justify-content-center">
        <div class="col-md-4">
            <div class="">
                <a href="{% url 'home' %}" class="my-3 btn btn-dark btn-sm">Go Back</a>
            </div>
            <div style="height: 90vh">
                <img class="img-fluid text-center" style="max-width: 100%; max-height: 100%" src="{{ book.image.url }}" alt="">
                <h5 class="text-muted">Author: {{ book.author }}</h5>
                <small>ISBN: {{ book.isbn }}</small><br>
                <small>Price: {{ book.price }}</small><br>
                <a href="" class="btn btn-success btn-sm">Edit Book</a>
                <a href="" class="btn btn-danger btn-sm">Delete Book</a>
            </div>
        </div>
    </div>
{% endblock %}
This template simply displays the details of a single book and two buttons for editing and deleting the book.
Open the home.html template, replace the code:
<a href="" class="m-2 btn btn-outline-dark btn-sm">View Book</a>With:
<a href="{% url 'book-detail' book.id %}" class="m-2 btn btn-outline-dark btn-sm">View Book</a>All the {% url 'book-detail' book.id %} is doing, is taking a user to a book detail page after clicking the button. Let us click the View Book button of the book we recently added, and it will take us to this page:
Adding a Book
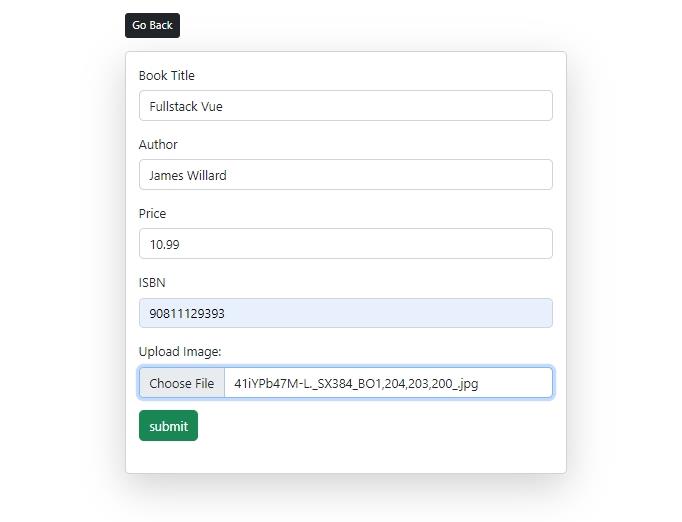
Let us now make it possible for the users to be able to add a book. For this task, we will need a form for entering all the book's details. Open the add-book.html template and paste the following code:
{% extends 'books/base.html' %}
{% block content %}
<div class="row justify-content-center">
<div class="col-md-4">
<a href="{% url 'home' %}" class="my-3 btn btn-dark btn-sm">Go Back</a>
<div class="card shadow-lg">
<div class="card-body">
<!-- the form for adding a book -->
<form method="POST" enctype="multipart/form-data" action="">
<!-- this is for securing the form from malicious attacks -->
{% csrf_token %}
<!-- this is the label and input for the Title -->
<div class="mb-3">
<label class="form-label font-weight-bold">Book Title</label>
<input required type="text" name="title" class="form-control" placeholder="Enter Book Title">
</div>
<!-- this is the label and input for the Author -->
<div class="mb-3">
<label class="form-label font-weight-bold">Author</label>
<input required type="text" name="author" class="form-control" placeholder="Book Author">
</div>
<!-- this is the label and input for the Price -->
<div class="mb-3">
<label class="form-label font-weight-bold">Price</label>
<input required type="text" name="price" class="form-control" placeholder="Price">
</div>
<!-- this is the label and input for the ISBN -->
<div class="mb-3">
<label class="form-label font-weight-bold">ISBN</label>
<input required type="text" name="isbn" class="form-control" placeholder="ISBN">
</div>
<!-- this is the label and input for the Image -->
<div class="mb-3">
<label class="form-label font-weight-bold">Upload Image:</label>
<input required type="file" name="image-file" class="form-control" id="customFile" />
</div>
<!-- Submit button -->
<button type="submit" class="btn btn-success btn-block mb-4">submit</button>
</form>
</div>
</div>
</div>
</div>
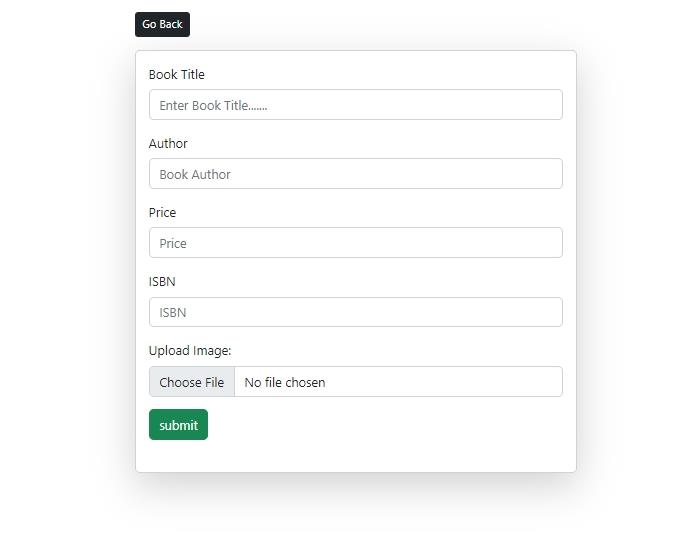
{% endblock %}We're simply making a form with all the fields we need to create a book. We're also setting enctype="multipart/form-data" to be able to upload images.
Now open the home.html template, replace the line:
<a href="" class="m-2 btn btn-dark btn-sm">Add Book</a>With:
<a href="{% url 'add-book' %}" class="m-2 btn btn-dark btn-sm">Add Book</a>When the user clicks this button, they will be redirected to the add book page:
Now it is time we make this form functional, open the views.py file, and on top of this file, add this line of code:
from django.shortcuts import render, redirectAnd scroll down to the add_book() function, edit it to look like this:
# this is a view for adding a book
def add_book(request):
    # checking if the method is POST
    if request.method == 'POST':
        # getting all the data from the POST request
        data = request.POST
        # getting the image
        image = request.FILES.get('image-file')
        # creating and saving the book
        book = Book.objects.create(
           title = data['title'],
           author = data['author'],
           isbn = data['isbn'],
           price = data['price'],
           image = image
        )
        # going to the home page
        return redirect('home')
    return render(request, 'books/add-book.html')
This view helps the user add a book; it receives a POST request via the form, processes it, and adds the required book's data to the database.
Fill the form with your data, make sure every field is filled and then click the submit button:
After clicking the submit button, you will be redirected to the home page, and you will notice that the book was added successfully:
You will see that a new book was added in the first row, and now the add book feature is working perfectly.
Editing a Book
Now let us make it possible for a user to edit a particular book. There are so many ways we could use to solve this problem, but we will opt for a more straightforward way, that is Django ModelForms. We will create a form inherited from the Book model we have in the app.
Inside the books app folder, create a forms.py file:
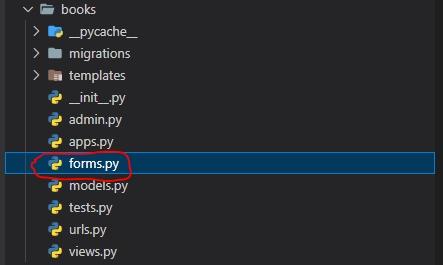
Add the following inside it:
from .models import Book
from django.forms import ModelForm
from django import forms

# declaring the ModelForm
class EditBookForm(ModelForm):

    class Meta:
        # the Model from which the form will inherit from
        model = Book
        # the fields we want from the Model
        fields = '__all__'
        # styling the form with bootstrap classes
        widgets = {
             'title': forms.TextInput(attrs={'class': 'form-control'}),
             'author': forms.TextInput(attrs={'class': 'form-control'}),
             'price': forms.TextInput(attrs={'class': 'form-control'}),
             'isbn': forms.TextInput(attrs={'class': 'form-control'}),
             'image': forms.TextInput(attrs={'class': 'form-control'}),
        }
We're creating the form for editing a book; this form will inherit all the fields from the model. We are using the widgets dictionary available in Django for customizing the form fields. It takes the field and the styles for that field. The styles are from any CSS framework you use in your project (in our case, Bootstrap).
Open the views.py file, add this line of code on top:
from .forms import EditBookFormScroll down to the edit_book() function and make it look like this:
# this is a view for editing the book's info
def edit_book(request, id):
    # getting the book to be updated
    book = Book.objects.get(pk=id)
    # populating the form with the book's information
    form = EditBookForm(instance=book)
    # checking if the request is POST
    if request.method == 'POST':
        # filling the form with all the request data
        form = EditBookForm(request.POST, request.FILES, instance=book)
        # checking if the form's data is valid
        if form.is_valid():
            # saving the data to the database
            form.save()
            # redirecting to the home page
            return redirect('home')
    context = {'form': form}
    return render(request, 'books/update-book.html', context)
The edit_book() view is for editing the book's information whose id is passed to the function, the book is fetched from the database by its id.
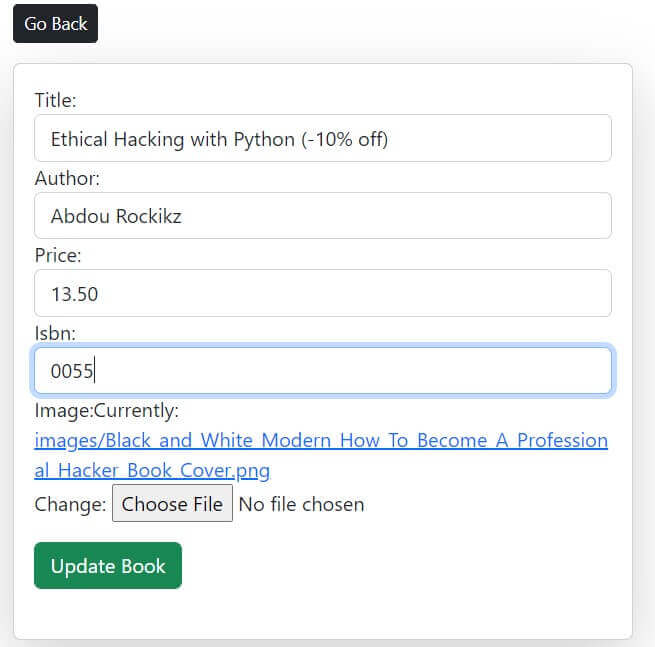
Here's the books/update-book.html template:
{% extends 'books/base.html' %}
{% block content %}
<div class="row justify-content-center">
    <div class="col-md-4">
        <a href="{% url 'home' %}" class="my-3 btn btn-dark btn-sm">Go Back</a>
        <div class="card shadow-lg">
            <div class="card-body">
                <!-- the form for adding a book -->
                <form method="POST" enctype="multipart/form-data" action="">
                    <!-- this is for securing the form from malicious attacks -->
                    {% csrf_token %}
                    <p>{{ form }}</p>
                    <!-- Submit button -->
                    <button type="submit" class="btn btn-success btn-block mb-4">Update Book</button>
                </form>
            </div>
        </div>
    </div>
</div>
{% endblock %}
Open the book-detail.html template and replace:
<a href="" class="btn btn-success btn-sm">Edit Book</a>With:
<a href="{% url 'edit-book' book.id %}" class="btn btn-success btn-sm">Edit Book</a>Clicking this button to will be taken you to the update book page:
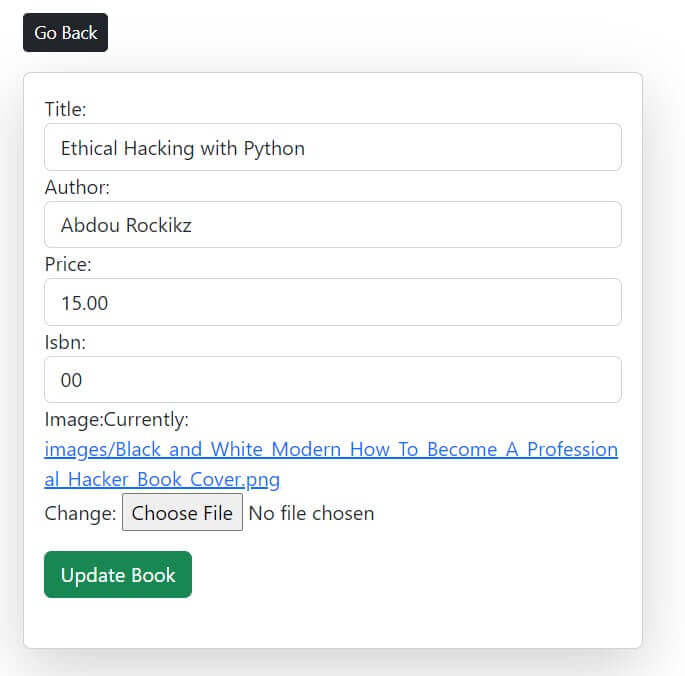
That's our Ethical Hacking with Python EBook. Let's test if this form is working. Try to change all the fields as much as possible:
If you click the Update Book button, you will be redirected to the home page, and the updated book will look as follows:

View the book to see the other updated information, and this is what we have:
Congratulations on successfully updating your first book!
Deleting a Book
Finally, we need to make it possible for users to delete a particular book. Open the delete-book.html template and paste the following code:
{% extends 'books/base.html' %}
{% block content %}
<div class="row justify-content-center">
    <div class="col-md-4">
        <a href="{% url 'home' %}" class="my-3 btn btn-dark btn-sm">Go Back</a>
        <div class="card shadow-lg">
            <div class="card-body">
                <!-- the form for deleting a book -->
                <form method="POST" action="">
                    <!-- this is for securing the form from malicious attacks -->
                    {% csrf_token %}
                    <p>Are you sure you want to delete the book '<b>{{ book.title | upper}}</b>'?</p>
                    <!-- Submit button -->
                    <button type="submit" class="btn btn-danger btn-block mb-4">Confirm</button>
                </form>
            </div>
        </div>
    </div>
</div>
{% endblock %}
The above template has a form that sends a POST request for deleting a specified book. To delete a book, the user has to click the Confirm button.
Then edit the delete_book() view function and make it look like this:
# this is a view for deleting a book
def delete_book(request, id):
    # getting the book to be deleted
    book = Book.objects.get(pk=id)
    # checking if the method is POST
    if request.method == 'POST':
        # delete the book
        book.delete()
        # return to home after a success delete
        return redirect('home')
    context = {'book': book}
    return render(request, 'books/delete-book.html', context)
This view is for deleting a specific book by its id passed to the function, the book is fetched first of all from the database. After a successful delete, the user is redirected to the home page.
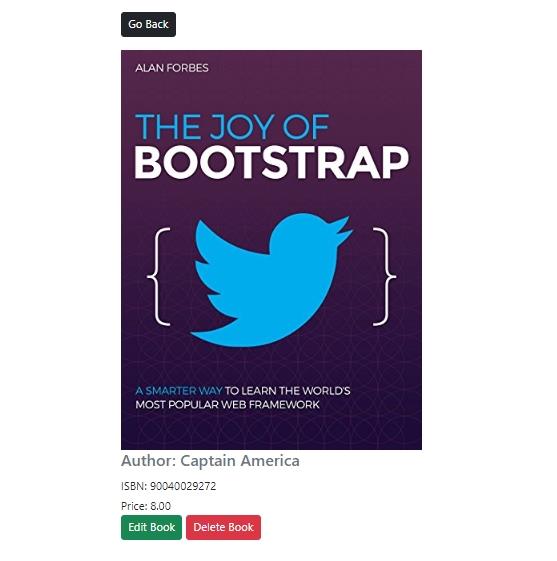
Open the book-detail.html template and make the Delete Book button look like this:
<a href="{% url 'delete-book' book.id %}" class="btn btn-danger btn-sm">Delete Book</a>We will be taken to the delete book page by clicking the Delete Book button. Now let us test this view; we will delete the second book in the first row:
Clicking the Delete Book button, the following page will appear:
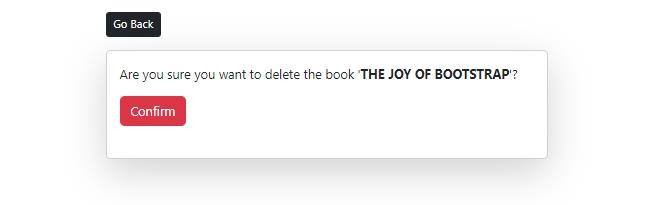
If you click the Confirm button, you will be taken back to the home page, and you will notice that the book is no longer listed because it has been successfully deleted:
Conclusion
This article walked you through the process of building a book store application using Django. We started by creating a project, then an application. We added a model for our book details, then created views to display the book details, add a book, update a book and delete a book. We created the URLs for our book app and tied every view to its respective URL. Finally, we tested our application to make sure everything was working correctly.
That's it from this article, and we now hope you have learned some of the important aspects of the Django framework and that you will be able to apply them in your future projects.
You can always get the complete code for the project here.
Learn also: How to Build an English Dictionary App with Django in Python
Happy coding ♥
Let our Code Converter simplify your multi-language projects. It's like having a coding translator at your fingertips. Don't miss out!
View Full Code Analyze My Code


Got a coding query or need some guidance before you comment? Check out this Python Code Assistant for expert advice and handy tips. It's like having a coding tutor right in your fingertips!