Kickstart your coding journey with our Python Code Assistant. An AI-powered assistant that's always ready to help. Don't miss out!
Sending emails manually is no doubt a time-consuming and tough task, a programmer can easily automate this using his favorite programming language, in this tutorial, you will learn how you can send emails using smtplib module in Python, we'll also use the email module to send different attachment types, such as HTML content and binary files.
SMTP (Simple Mail Transfer Protocol) is the protocol that handles sending and routing email across mail servers, it is a communication protocol for electronic mail transmission, it was first introduced in 1982 and updated in 2008 by RFC 5321 to Extended SMTP additions (which is what's used today). So in a nutshell, mail servers use this network protocol to send mail messages.
The smtplib module uses SMTP protocol and defines an SMTP client session object that can be used to send mail to any Internet machine with an SMTP (or Extended-SMTP) listener. It comes pre-installed with Python, so we don't have to install it.
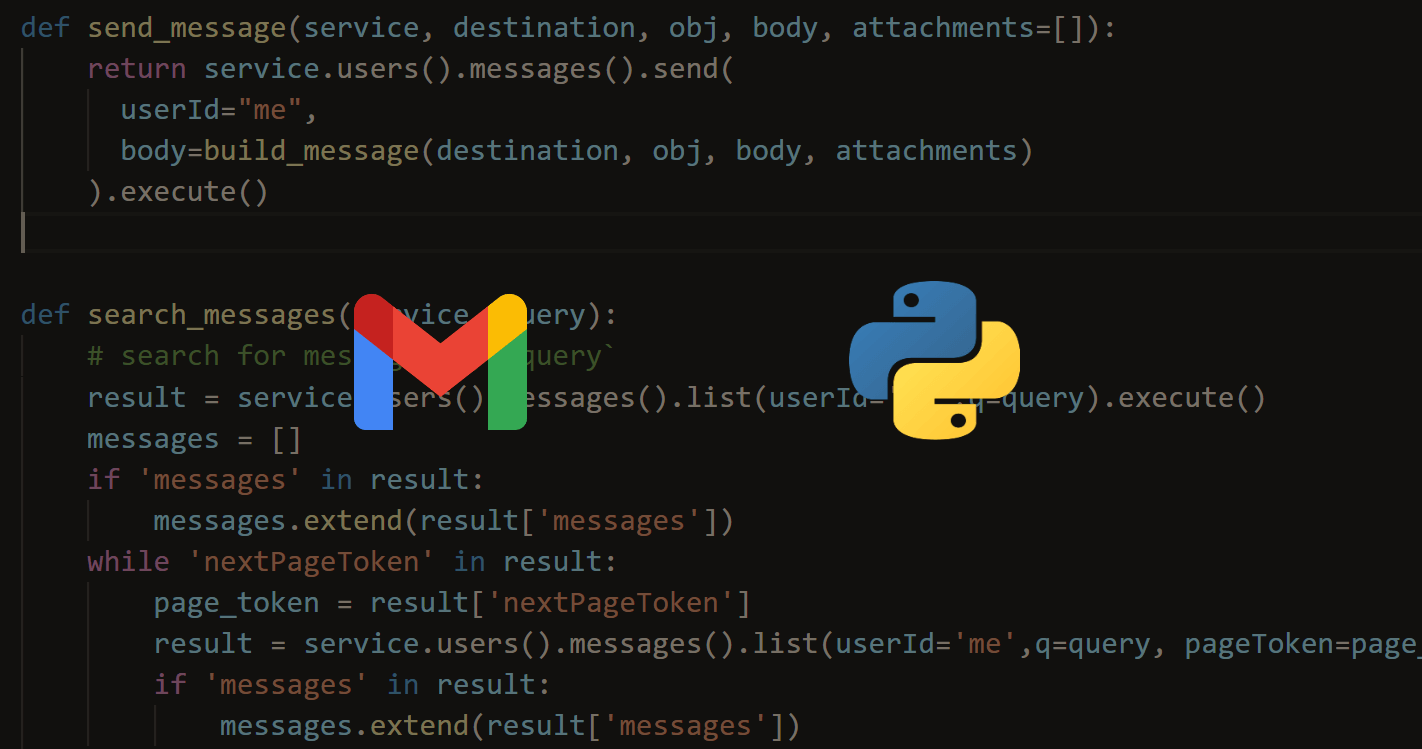
Please note that the code of this tutorial no longer work on Gmail accounts, If you want to send emails with Gmail, you can use the Gmail API instead.
Before we get started, let's install BeautifulSoup, which will help us extract plain text from HTML automatically without worrying about regular expressions:
$ pip3 install bs4Related: How to Read Emails in Python.
Building our Message
Alright, let's get started, let's first import the libraries we gonna use:
import smtplib
from email import encoders
from email.mime.text import MIMEText
from email.mime.multipart import MIMEMultipart
from email.mime.base import MIMEBase
from bs4 import BeautifulSoup as bs
We gonna need the email module, because it provides us with the MIME standard, which will help us send not only ASCII character set emails, but larger character sets, HTML, and even binary files.
Message bodies with MIME formatting consist of multiple parts, each part may contain any type of data that you actually want to send (such as plain text, HTML, or binary files).
Let's define our parameters:
# your credentials
email = "email@example.com"
password = "password"
# the sender's email
FROM = email
# the receiver's email
TO   = "to@example.com"
# the subject of the email (subject)
subject = "Just a subject"
Pretty straightforward, email and password variables are the credentials of the email address you wanna send with. FROM and TO are the sender's email and receiver's email respectively (email and FROM are usually the same), and the subject is the title (or subject) of the mail we'll send.
Make sure you edit these variables for your own needs, you can send to multiple email addresses just by using a list of email addresses in the TO variable instead of a string.
Let's construct our mail, now we gonna use two versions of our mail, one is the HTML version and the other is the plain text version. This is typically the case for most email providers, as some email clients will not try to render the HTML content for security reasons.
As a result, we gonna use the MIMEMultipart object and pass "alternative" as the subtype, so it can combine the two mail versions into a single message with two rendering options:
# initialize the message we wanna send
msg = MIMEMultipart("alternative")
# set the sender's email
msg["From"] = FROM
# set the receiver's email
msg["To"] = TO
# set the subject
msg["Subject"] = subject
We also set the From, To email addresses and the subject. Let's build the message body:
# set the body of the email as HTML
html = """
This email is sent using <b>Python </b>!
"""
# make the text version of the HTML
text = bs(html, "html.parser").text
In this example, we have set the html to a simple HTML message, but you can read from an HTML mail template, like so:
# set the body of the email as HTML
html = open("mail.html").read()
# make the text version of the HTML
text = bs(html, "html.parser").text
If you want to use the mail template version, get mail.html from here. Let's finish building the message:
text_part = MIMEText(text, "plain")
html_part = MIMEText(html, "html")
# attach the email body to the mail message
# attach the plain text version first
msg.attach(text_part)
msg.attach(html_part)
After the construction of the message body, we attached it to the MIMEMultipart object we just created. Let's see how this email looks like:
print(msg.as_string())Output:
Content-Type: multipart/alternative; boundary="===============2952145411990110564=="
MIME-Version: 1.0
From: from@example.com
To: to@example.com
Subject: Just a subject

--===============2952145411990110564==
Content-Type: text/plain; charset="us-ascii"
MIME-Version: 1.0
Content-Transfer-Encoding: 7bit


This email is sent using Python !

--===============2952145411990110564==
Content-Type: text/html; charset="us-ascii"
MIME-Version: 1.0
Content-Transfer-Encoding: 7bit


This email is sent using <b>Python </b>!

--===============2952145411990110564==--
As you may notice, each part is separated with a fixed set of characters, the first part contains the mail header and the second contains the actual message body we just attached, note that if there are any non-ASCII characters, it'll automatically change the encoding for us, so you usually don't have to worry about that. For more information about the MIME standard, check this Wikipedia page.
In the next few sections, we will see how we can add files as an email attachment, stay tuned!
Related: How to Delete Emails in Python.
Sending the Message
Now that we have the mail ready to be sent, let's create a function that takes FROM and TO email addresses, as well as the actual msg to be sent, and it'll send the email for us:
def send_mail(email, password, FROM, TO, msg):
    # initialize the SMTP server
    # in our case it's for Microsoft365, Outlook, Hotmail, and live.com
    server = smtplib.SMTP(host="smtp.office365.com", port=587)
    # connect to the SMTP server as TLS mode (secure) and send EHLO
    server.starttls()
    # login to the account using the credentials
    server.login(email, password)
    # send the email
    server.sendmail(FROM, TO, msg.as_string())
    # terminate the SMTP session
    server.quit()
Note: From May 30, 2022, Google no longer supports the use of third-party apps or devices which ask you to sign in to your Google Account using only your username and password. Therefore, this code won't work for Gmail accounts. If you want to interact with your Gmail account in Python, I highly encourage you to use the Gmail API tutorial instead.
So we first connect to the SMTP server using smtplib, we've used the Office365 SMTP server in this example, with port 587. If you want to use other SMTP servers (such as Yahoo), check the list of SMTP servers and their port numbers. You have to choose the SMTP server of the email account you wish to use in the code.
We then put the connection to the SMTP server into TLS mode for security (using StartTLS), and finally, we log in using the account credentials and terminate the session after we send our email.
server.sendmail() method performs an entire mail transaction, it takes several arguments: the address sending this mail (FROM), a list of addresses to send this mail to (if it's a string, then it will be treated as a list with 1 address), and the message to send.
Let's call the function we just created:
# send the mail
send_mail(email, password, FROM, TO, msg)
After I executed the above code (of course I used real email credentials), here is the screenshot of the email received:
Adding Attachments
In order to send binary files (such as documents, images, videos, audio files, etc.) as an attachment in our email, we need to add an attachment for each file we want to send:
# list of files to send as an attachment to the email
# feel free to add your attachments here
files_to_send = [
    "test.txt",
    "1810.04805.pdf",
]
# initialize the message we wanna send
msg = MIMEMultipart("alternative")
# set the sender's email
msg["From"] = FROM
# set the receiver's email
msg["To"] = TO
# set the subject
msg["Subject"] = subject
# set the body of the email as HTML
html = open("mail.html").read()
# make the text version of the HTML
text = bs(html, "html.parser").text

text_part = MIMEText(text, "plain")
html_part = MIMEText(html, "html")
# attach the email body to the mail message
# attach the plain text version first
msg.attach(text_part)
msg.attach(html_part)
for file in files_to_send:
    # open the file as read in bytes
    with open(file, "rb") as f:
        # read the file content
        data = f.read()
        # create the attachment
        attach_part = MIMEBase("application", "octet-stream")
        attach_part.set_payload(data)
    # encode the data to base 64
    encoders.encode_base64(attach_part)
    # add the header
    attach_part.add_header("Content-Disposition", f"attachment; filename= {file}")
    msg.attach(attach_part)
# send the mail
send_mail(email, password, FROM, TO, msg)
Note: the above code won't work as a standalone Python script, please refer to this page to get the full code version.
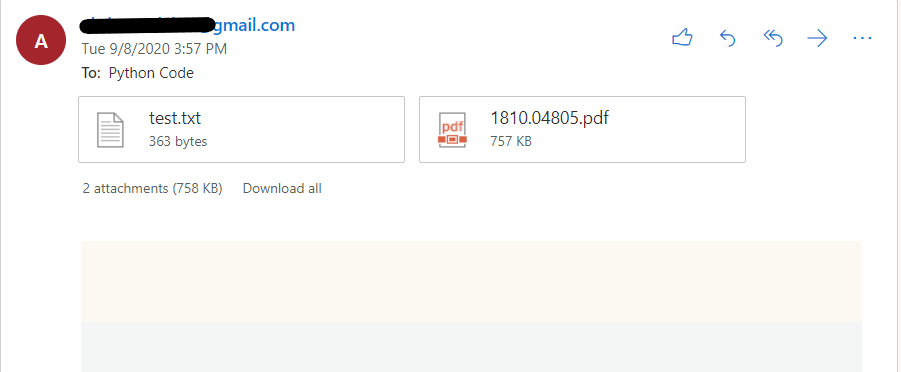
We add the plain text and HTML attachments like previously, then we iterate over files_to_send list (which contains the list of files we want to send, in this case, a text file and a PDF file) and attach each file to our mail. You can get the files I used in this directory.
Of course, you can send any file you want, make sure you edit files_to_send list and you're good to go.
We used the application/octet-stream subtype to indicate that it's arbitrary binary data, and we set the data using the set_payload() method. After that, we encode the file attachment in Base64, and we attach it to the mail after we add the Content-Disposition header to indicate that it is an attachment.
Here is how it looks like when I sent the mail:
I highly encourage you to check the full code, as it's convenient for you to copy it out.
Conclusion
Awesome, there are many use cases for this! You can, for example, create your own custom alerts to notify you when something happened, or you want to send email confirmation to users when they create an account on your website or send emails to members of your organization, or sending keylogger results, possibilities are endless!
Here are other email tutorials:
Another example use case of this is that you can use an email extractor to grab a good mail list from the web and send marketing campaigns to reach a broad audience! Let us see what you built with this in the comments below.
Learn also: How to Manipulate IP Addresses in Python.
Happy Coding ♥
Loved the article? You'll love our Code Converter even more! It's your secret weapon for effortless coding. Give it a whirl!
View Full Code Create Code for Me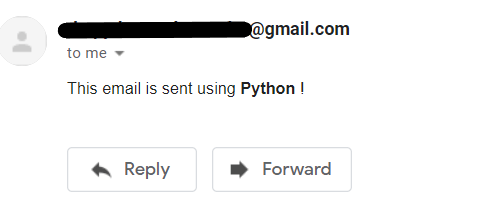


Got a coding query or need some guidance before you comment? Check out this Python Code Assistant for expert advice and handy tips. It's like having a coding tutor right in your fingertips!